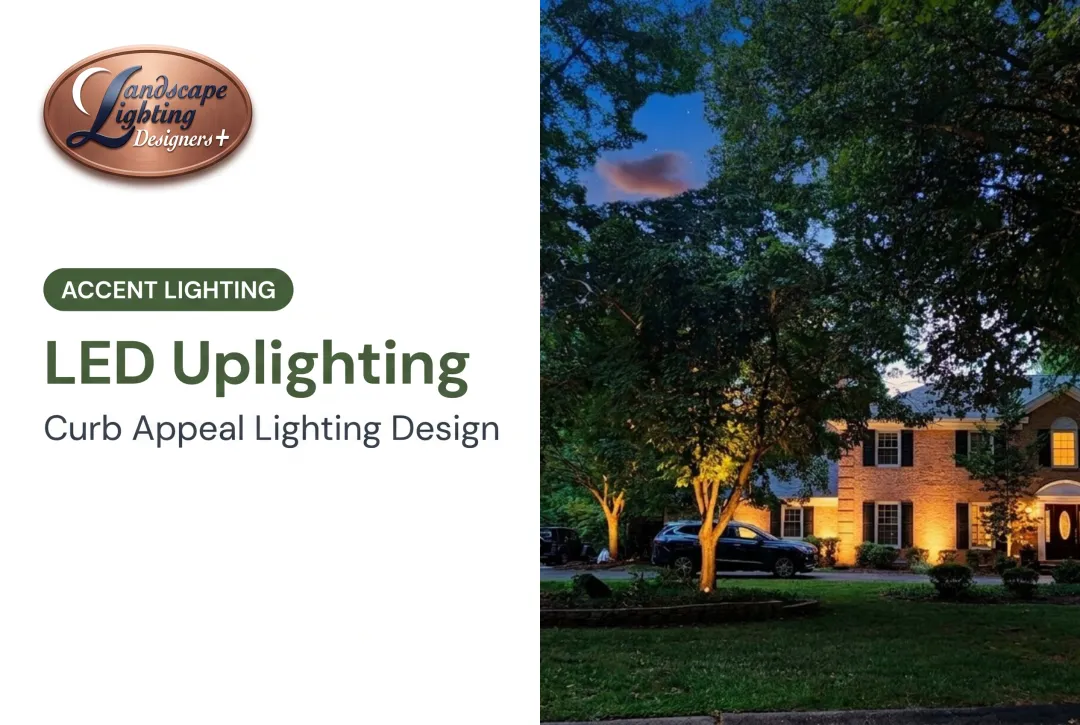
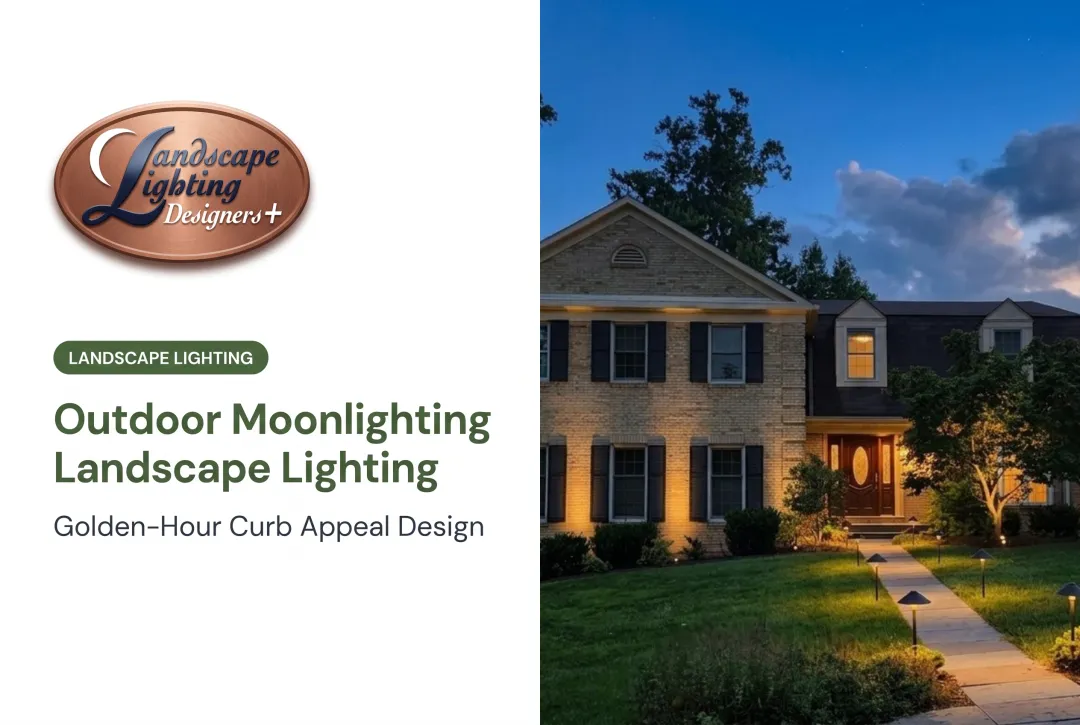
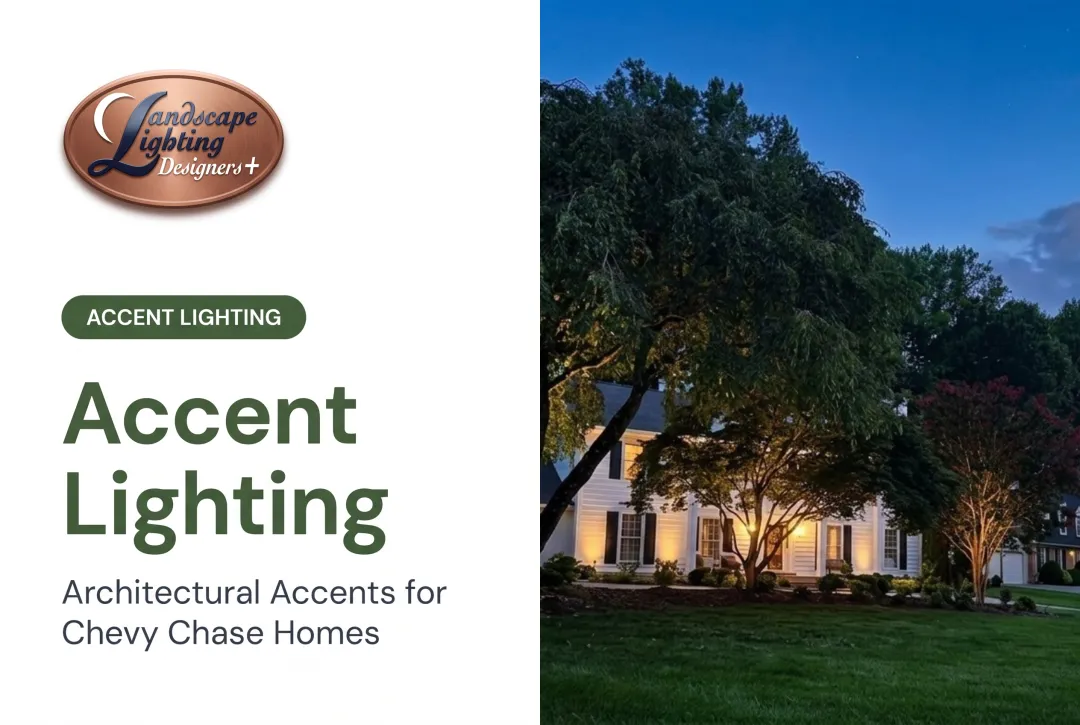
While uplighting trees may seem straightforward—simply point a light upward—professional results depend heavily on fixture selection, beam angle, placement distance, and understanding tree architecture. A single misplaced fixture can flatten a magnificent oak into a washed-out backdrop, while thoughtfully positioned lights create layered depth and shadow play that make the same tree unforgettable.
This article explains when tree uplighting is appropriate for your property, what equipment and site conditions are required, step-by-step placement techniques, key variables that affect results, and common mistakes to avoid.
Key Takeaways
- Low-voltage ground fixtures turn trees into nighttime focal points without harsh glare
- Match beam angle to the tree: 15° for tall/narrow, 35° for medium, 60° for broad canopies
- Small deciduous trees need one fixture; medium need two; large trees need multiple angles
- Graze trunks to show bark and branches—overlighting flattens texture and depth
How to Uplight Trees with Outdoor Landscape Lighting
Step 1: Assess the Tree and Determine Viewing Angles
Start by identifying which trees deserve to be focal points:
- Walk your property at night to determine primary viewing angles from the street, driveway, windows, and outdoor living spaces
- Note tree characteristics: height, trunk diameter, canopy spread, branch structure, bark texture, and whether deciduous or evergreen
- Identify trees that frame important architectural features or anchor outdoor spaces
- Consider how the tree relates to your overall landscape design
Not every tree on your property should be lit. Trees with interesting bark texture, distinctive branch structure, or significant height make the strongest candidates. Mature specimen trees such as oaks, maples, magnolias, and dogwoods, all common in the DC metro area, usually deliver the strongest results when lit well.
Step 2: Select Appropriate Fixtures and Beam Angles
Choose low-voltage LED accent fixtures rated for continuous outdoor use. According to Kichler's tree lighting guidance, beam angle selection follows these patterns:
Beam angle by tree size:
- Small trees (under 20 feet): One 35° fixture
- Medium trees (20-40 feet): Two 35° fixtures or one 60° fixture
- Large trees (over 40 feet): Combination of 15°, 35°, and 60° fixtures
Beam characteristics:
- 15° narrow beams: Concentrate light up tall trunks to the canopy to bring out vertical form and texture
- 35° medium floods: Spread light across small to medium deciduous canopies
- 60° wide floods: Cover broad evergreen canopies and wide spreading trees
Verify that fixture housings are durable (cast brass or aluminum) and include adjustable mounting stakes for precise aiming. Kichler's 500-lumen cast-brass accent and WAC's adjustable 12V accent are examples of fixtures designed for tree uplighting, operating within a 9-15V range.
Step 3: Position Fixtures at Proper Distance and Angle
Placement distance controls the lighting effect:
- Small trees: Place fixtures 6-12 inches from the trunk base to graze bark texture
- Medium trees: Position 2-3 feet from the trunk for broader coverage
- Large trees: Add fixtures 8-15 feet away to illuminate the canopy from below
Aim fixtures upward into the canopy rather than stopping at lower branches. The goal is to highlight both trunk texture and upper branch structure. Kichler describes this as a grazing technique that reveals bark irregularities and creates shadow play as the light travels upward.
Test positioning at night before final installation. Adjust placement to eliminate harsh shadows, reduce overlighting, and ensure the effect looks natural from all primary viewing angles.

Step 4: Install Fixtures and Integrate with Low-Voltage System
Connect fixtures to a low-voltage transformer, typically a 12V system in the 9-15V range:
Size your transformer: Total the wattage of all connected fixtures and select a transformer rated above that load. Kichler recommends keeping system wattage at or below transformer capacity; never exceed maximum rating.
Route wire appropriately: Bury direct-burial-rated landscape wire 6-8 inches deep along natural pathways such as mulch beds and landscape edges. Use 12-gauge wire for longer runs and calculate voltage drop to ensure fixtures receive adequate power.
Protect tree roots: Avoid trenching inside the tree's critical root zone. ISA-derived guidance defines this as a 1-foot radius per inch of trunk diameter measured 4.5 feet above grade.
Use waterproof connections: Choose connectors rated for continuous outdoor exposure to prevent moisture intrusion and system failure.
For canopy-mounted fixtures (used in moonlighting applications), install tree-mount junction boxes with standoff screws that accommodate trunk growth, running wire up the least visible side of the trunk. Never wrap wire tightly around trunks; expanding wood can strangle the tree over time.

Step 5: Test, Adjust, and Fine-Tune the Lighting Effect
Power on the system and evaluate results from all primary viewing angles identified in Step 1:
- Adjust fixture angles to eliminate glare visible from windows or seating areas
- Reduce overlighting by dimming or repositioning fixtures that wash out texture
- Verify that tree uplighting integrates harmoniously with path lights, architectural accents, and garden lighting
- Check for unintended light trespass into neighboring properties
Plan for seasonal adjustments. Deciduous trees lose leaves in fall, which changes how light hits the branches. Lighting designed only for summer foliage may appear too bright or harsh in winter when bare branches allow more light to pass through.
When Should You Use Tree Uplighting in Your Landscape Design?
Tree uplighting is not appropriate for every tree on your property. Strategic selection creates impact while maintaining visual balance.
Ideal candidates include:
- Mature specimen trees with interesting bark texture or branch structure (oaks, maples, magnolias, dogwoods)
- Trees that frame your home's architecture or anchor outdoor living spaces
- Trees visible from the street that enhance curb appeal
- Trees near patios or decks that extend usable outdoor space into evening hours
- Trees that complement Federal-style, Victorian, or historic home architecture common in the DC metro area
Situations where tree uplighting becomes inefficient or problematic:
- Trees too close to bedroom windows (causing unwanted light intrusion)
- Properties with strict HOA lighting restrictions that limit fixture placement or brightness
- Trees with dense low branches that block upward light before it reaches the canopy
- Over-lighting—uplighting too many trees creates visual chaos rather than elegant focal points
Subtlety and restraint create more impactful results than illuminating every available tree. A well-designed landscape typically highlights 2–4 focal trees rather than the entire canopy, so each one can stand out.
Browsing finished work is the quickest way to narrow a direction; our project gallery has installations from across Bethesda, Potomac, and Chevy Chase.
What You Need Before Uplighting Trees in Your Landscape
Preparation shapes how the lighting looks and how long the system lasts. Before fixtures go in the ground, you need the right equipment, suitable trees and site conditions, and sound design judgment.
Equipment and Fixture Requirements
- Low-voltage transformer: Sized to handle total system wattage with headroom for future expansion
- LED accent fixtures: With appropriate beam angles (15°, 35°, or 60°) and lumen output for tree size
- Adjustable mounting stakes: For precise aiming and post-installation adjustments
- Direct-burial landscape wire: 12-gauge or 14-gauge depending on run length and connected load
- Waterproof connectors: Rated for continuous outdoor exposure
Kichler's in-ground accents offer selectable output (350, 550, or 850 lumens) and interchangeable optics (15°, 35°, or 60°), allowing you to adjust the lighting effect without replacing the entire fixture.
Site Conditions and Tree Assessment
- Mature trees with established root systems: Young trees may not yet have the height, trunk diameter, or canopy spread to justify uplighting
- Clear understanding of primary viewing angles: From street, driveway, windows, and outdoor living spaces
- Knowledge of tree species and growth patterns: Deciduous versus evergreen, seasonal foliage changes, and mature size
- Root zone protection: Understanding where you can safely trench without damaging critical roots
Professional Expertise and Design Knowledge
- Understanding of low-voltage electrical systems: Voltage drop calculations, wire sizing, transformer loading, and safety protocols
- Artistic eye for balance and restraint: Knowing when to add light and when to leave areas naturally dark
- Knowledge of DC-area architecture: How Federal-style homes, Victorian properties, and historic residences influence aiming angles, fixture placement, and light levels
Key Parameters That Affect Tree Uplighting Results
Achieving professional-quality tree uplighting depends on controlling several interrelated variables. Small adjustments to these parameters can change the final effect in clear, visible ways.
Beam Angle and Fixture Placement
Narrow beam angles (15°) create concentrated light ideal for highlighting tall trunks up through the canopy. According to Kichler, match the beam to the tree:
- 10–15° beams for trunks
- 35° floods for small or medium deciduous trees
- 60° beams for broad canopies
Narrow beams emphasize texture, contrast, and vertical drama. Wide beams soften detail and create more uniform light with less shadow play.
Placement distance shapes that same light differently. Fixtures 6–12 inches from the trunk create dramatic grazing that reveals bark texture and irregularities. At 3–6 feet, coverage widens and texture emphasis drops, producing a softer ambient look with less sculptural interest.

Output, Color Temperature, and Fixture Count
Match lumen output to the tree’s role in the design:
- 300–500 lumens for large trees or primary focal points
- 150–300 lumens for secondary trees or accents
Warm color temperatures (2700K–3000K) fit natural outdoor environments and residential settings. Kichler recommends 2700K for red or green foliage and wood, and 3000K for blue or silver foliage. Temperatures of 3500K and above tend to look clinical outdoors.
Fixture count scales with size:
- Small trees may need only one fixture
- Medium trees typically need two for cross-lighting
- Large trees (60+ feet) often need 4–6 fixtures at varying heights and angles
Multiple fixtures create 360° interest and avoid flat, one-sided lighting. A tree lit from only one side looks incomplete from other viewing angles.

Seasonal Foliage Considerations
Deciduous trees lose leaves in fall and winter, which changes how light hits the structure. Light that fills a full summer canopy passes through bare winter branches and can create excessive brightness or harsh shadows.
Designs built only for summer foliage often look too bright in winter. Plan for year-round appearance with positioning that works in both seasons, or use adjustable output you can dim when the canopy is bare.
Common Mistakes When Uplighting Trees in Landscape Lighting
Even solid fixtures fall flat when output, placement, or beam choice is off. Avoid these frequent errors:
- Overlighting: Too many fixtures or excess lumens flatten bark texture, erase shadow contrast, and leave an artificial look. DarkSky International's residential lighting guidelines stress light only where needed, no brighter than necessary.
- Poor placement or aim: Fixtures set too far from the trunk light grass and lower foliage instead of trunk and canopy, so the hardware stays visible while the tree stays underlit.
- Skipping interior views: Glare through windows and spill into bedrooms are easy to miss from the yard. Check the system from inside before locking positions.
- Mismatched beam angles: A 60° flood on a tall, narrow tree or a 15° spot on a wide canopy leaves uneven coverage—some branches washed out, others dark.
Homeowners who want certainty before installation can preview their home at night with an on-site demonstration.
Frequently Asked Questions
How many lights does it take to uplight a tree?
Small trees (under 20 feet) typically need one fixture, medium trees (20–40 feet) need two, and large trees (over 40 feet) may need 4–6 fixtures. Place them at varying distances and angles to light both trunk and canopy.
What type of light is best for uplighting trees?
Low-voltage LED accent fixtures with adjustable beam angles (15°, 35°, or 60°) work best. They last longer, aim precisely, and use about 80% less energy than incandescent bulbs.
How far from a tree should you place an uplight?
Place fixtures about 6–12 inches from the trunk on small trees for a strong graze, 2–3 feet for medium trees, and 3–6 feet or more for large trees when you need broader canopy coverage.
What is the difference between uplighting and downlighting trees?
Uplighting aims ground-level fixtures upward to highlight trunk and canopy as a focal point. Downlighting mounts fixtures high in the canopy and aims light down to mimic moonlight and soften outdoor living areas.
Can uplighting damage trees?
Properly installed low-voltage uplighting does not harm trees if you avoid disturbing roots in the critical root zone. Use tree-mount junction boxes with standoff screws for canopy fixtures, and never wrap wires tightly around trunks.
Should you uplight every tree in your yard?
No. Lighting 2–4 focal trees usually looks more elegant than lighting every tree. Selective placement keeps each tree readable and avoids a busy, overlit yard.