Many homeowners want to enhance curb appeal and improve exterior safety but aren't sure how to illuminate their house exterior effectively. Should fixtures mount on the house or in the landscape? How do you highlight features without creating harsh spotlights? What's the difference between professional uplighting and simply adding more flood lights?
This guide covers uplighting fundamentals, specific applications for your home's architecture and trees, fixture selection, placement techniques, and the professional design considerations that separate subtle elegance from overlighting.
Key Takeaways
- Ground-level fixtures light architecture, trees, and plantings upward to add depth and texture
- Low-voltage LEDs give flexible, energy-efficient design without house-mounted glare
- Match beam angle, lumens, and color temperature to each target for clean results
- Highlight select features instead of flooding the facade for stronger curb appeal
- Plan placement around street and interior sightlines to cut glare and boost impact
What is Uplighting for Houses?
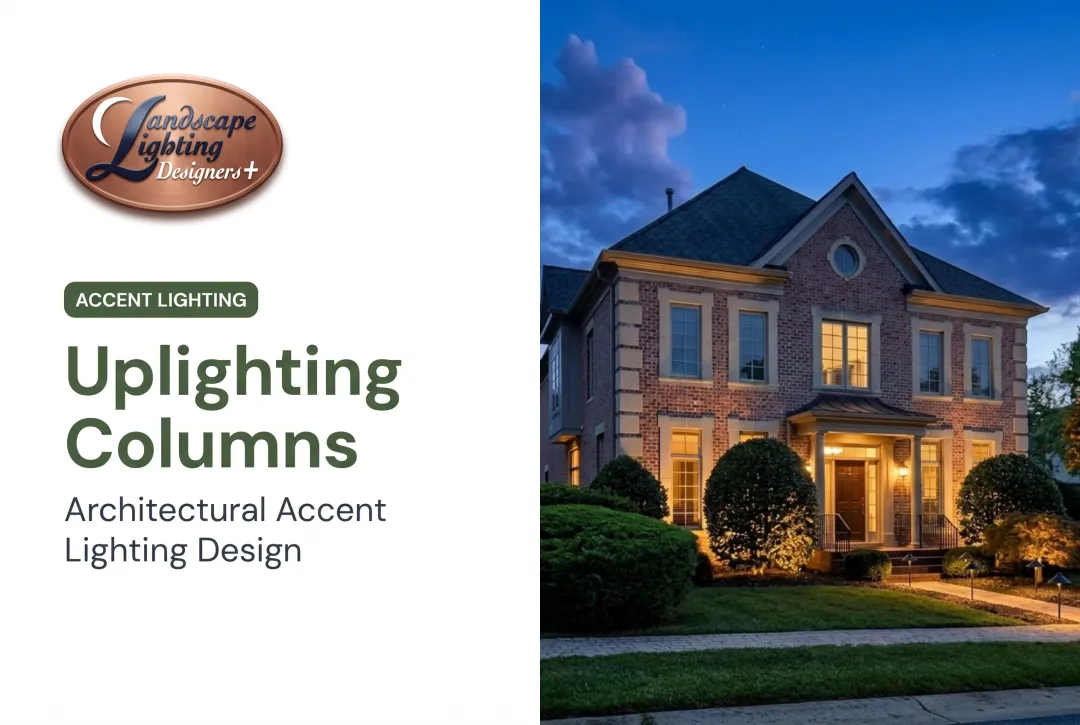
Uplighting is a landscape lighting technique that positions fixtures at ground level to direct light upward, highlighting architectural features, mature trees, and vertical landscape elements. According to FX Luminaire's lighting design techniques, uplighting uses surface-mounted or recessed fixtures to send light upward so columns, bark, stone, and other vertical details read clearly from below.
Unlike overhead lighting or daylight, which flatten surfaces and blend details, uplighting builds shadow and texture on brick and stone. Facades gain depth after dark, and details that usually disappear into shadow stay visible.
Uplighting vs. downlighting: Downlighting mounts fixtures overhead (often in trees or eaves) to cast light downward, mimicking moonlight and lighting pathways and outdoor living areas. Uplighting does the reverse: it lights vertical features from the ground up and draws the eye to architecture and specimen plants.
Benefits of Uplighting Your Home
Enhanced curb appeal
Uplighting reveals the details that define your home after dark: columns, textured brick, stone facades, and gables. NAR identifies uplighting as a key technique for architecture, trees, and textured exteriors.
In DC metro historic neighborhoods, it works especially well on Federal-style columns, Victorian cornices, and traditional brick townhomes.
Security and safety
Strategic uplighting cuts dark zones along the perimeter and lights entry points so you and guests can move outside more safely. Well-lit homes also read as occupied and cared for.
Longer outdoor hours
An inviting glow extends patios, front entries, and garden spaces past sunset. According to NAR's 2023 survey, landscape lighting earned the highest homeowner satisfaction marks among outdoor features, with an estimated project cost of $6,800.
LED energy efficiency
Modern low-voltage LED uplighting uses far less power than traditional 120V flood lights. According to the Department of Energy, a 450-lumen LED lamp draws only 4.5–7 watts versus about 40 watts for an incandescent equivalent (roughly 85% less energy for the same brightness).
Why Low-Voltage Uplighting Is the Professional Standard
Low-voltage (12V) systems run through an isolating transformer that steps down household voltage. That design is safer around plantings, wet soil, and outdoor traffic than line-voltage gear.
Unlike 120V house-mounted flood lights, 12V fixtures tuck into garden beds and ground cover. The hardware stays quiet; the light does the work.
Low-voltage layouts are also easier to adjust as the landscape matures. You can reposition fixtures without rewiring and add heads on the same transformer as trees grow or focal points change.
Aimed from grade, professional uplighting supports the architecture and plantings instead of washing them out. House-mounted 120V floods often look harsh and flat, bury subtle detail, and throw unflattering shadows.

Best Applications for House Uplighting
Effective uplighting targets specific architectural and landscape features rather than washing the whole property in light. Used well, it creates focal points, pulls texture out of flat surfaces, and builds depth across the facade.
Architectural Features Worth Uplighting
Ideal Targets:
- Columns and pillars – Reveal three-dimensional form and classical proportions
- Brick, stone, or stucco facades – Emphasize texture that appears flat under overhead lighting
- Gables, dormers, and rooflines – Define vertical lines and architectural composition
- Decorative trim and cornices – Highlight craftsmanship on Victorian and historic homes
Kichler's landscape lighting techniques describe grazing as a method that makes stucco, brick, and stonework read as textured surfaces by placing fixtures close to the wall at a sharp angle. Wall washing, by contrast, aims light uniformly to emphasize a surface's flatness and color.
Regional Architectural Styles: In DC metro neighborhoods, uplighting is particularly effective on:
- Federal-style townhomes – Illuminate symmetrical facades, brick arches, and columned entries common in Georgetown and Capitol Hill
- Victorian properties – Reveal ornate trim, bay windows, and decorative brackets found throughout Chevy Chase and Takoma Park
- Modern architectural elements – Highlight clean lines, geometric shapes, and contemporary materials on newer Bethesda and Rockville homes
Tree Uplighting Near the House
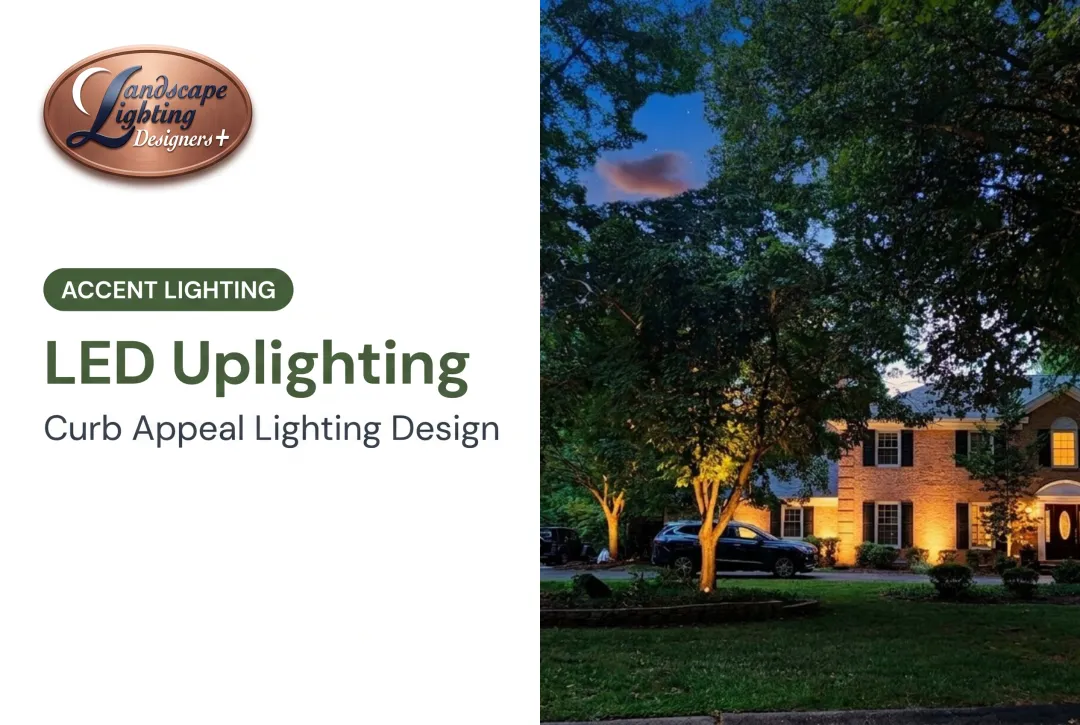
Mature trees flanking your home create natural framing and soften the hard lines of architecture. Uplighting a tree's trunk and canopy adds height and seasonal texture, and it gives the facade a clearer sense of scale.
Technique Varies by Tree Type:
- Columnar trees (Italian cypress, arborvitae) – Use narrow beam angles (10-15°) to emphasize height and vertical form
- Spreading canopy trees (oaks, maples, magnolias) – Use wider beams (25-35°) to illuminate trunk texture and branch structure
Seasonal Considerations: Deciduous trees in the DC metro area change dramatically through the year. Uplighting reveals spring blossoms, summer foliage density, fall color, and winter branch architecture. A good design plans for those shifts so the effect still feels balanced when the canopy is full or bare.
Landscape Features and Garden Elements
Beyond architecture and trees, uplighting also works well on:
- Garden sculptures and decorative stonework that need a clear nighttime focal point
- Water features and retaining walls where form and edge detail matter after dark
- Specimen plantings and ornamental shrubs you want to single out from the bed
- Textured hardscape surfaces that look flat under overhead light
Silhouetting Technique: Position the uplight between a feature (such as a sculpture or ornamental plant) and a nearby wall. The fixture illuminates the wall while the feature appears as a dramatic shadow profile.
Grazing Technique: Place fixtures 6-12 inches from a textured wall or surface at an acute angle. The light skims across the surface and picks up every bump, joint, and irregularity. This setup suits stacked stone, rough brick, and stucco.

Entry and Focal Point Uplighting
Your front entry is the natural focal point for visitors. Uplighting this area creates welcoming, layered illumination that goes beyond a single porch light.
- Uplight trees or columns flanking the entry to frame the approach
- Pair entry uplights with low pathway light so guests can read the walk to the door
- Add uplighting to architectural details (brick arches, stone surrounds) that define the entry
- Balance fixture brightness so no single element overwhelms the composition
Layered this way, the entry reads as one composition: structure first, then the path that leads guests to the door.
Uplighting Fixture Types and Selection
Choosing the right uplight fixture depends on what you're illuminating, where the fixture will be positioned, and the visual effect you want to achieve.
Main Uplight Categories
Bullet/Accent Lights: Surface-mounted directional fixtures with adjustable angles and interchangeable lenses. Use them when you need to aim and fine-tune the beam on trees, large shrubs, boulders, stone walls, or architectural details. Kichler's accent lights are a common pro-grade option in this category.
Well Lights: Recessed in-ground fixtures set flush with grade so they nearly disappear after install. Kichler positions in-ground lighting for permanent work where fixtures must stay hidden—or where above-grade housings would look intrusive or take damage.
Adjustable Spotlights: Ground-mounted fixtures with precise aiming and a range of beam spreads. Strong choice for facade washes, columns, and specimen plants when you want architectural uplighting and accent work from one fixture style.
Key Selection Criteria
| Criteria | Guidance | Example Application |
|---|---|---|
| Lumen Output | Match brightness to target height and size—taller features need more lumens | 350–550 lumens for single-story facades; 500–850 for two-story features |
| Beam Angle | Narrow (10–15°) for tall targets; medium (25–35°) general use; wide (60°) for broad surfaces | Narrow for columnar trees; wide for short, broad walls |
| Color Temperature | 2700K warm white for brick, wood, warm stone; 3000K for cooler or modern materials | 2700K for traditional brick colonials; 3000K for contemporary stucco |
Professional 12V Examples:
- Kichler's 500-lumen accent spot: 12V, 10° beam, 2700K, cast brass, wet-rated
- Kichler's VLO in-ground light: Selectable 350/550/850 lumens, 15/35/60° beam angles, 2700K or 3000K, IP67, drive-over rated
- FX Luminaire's FR adjustable uplight: 95-270 lumens depending on configuration, 18-58° lenses, phase/PWM dimming, Luxor compatible
Match fixture type, lumens, and beam to the home’s architecture and plant material—not a catalog default—so light supports the structure instead of competing with it.

Browsing finished work is the quickest way to narrow a direction; our project gallery has installations from across Bethesda, Potomac, and Chevy Chase.
Uplighting Placement Guidelines: Distances, Angles, and Techniques
Proper placement determines whether uplighting creates elegant emphasis or unflattering hot spots and glare.
Distance from Target
Practical starting points: Place fixtures 1–3 feet from the foundation for single-story facades, or 2–4 feet for two-story homes when you use narrow beams. Adjust on site once you see the beam on the wall.
Why distance matters: Beam diameter increases with distance from the fixture. Closer placement requires wider beam angles to cover the target; farther placement allows narrower beams to spread naturally. Illuminance decreases with the square of distance, so doubling the distance reduces brightness to one-quarter.
Avoiding Hot Spots: Position fixtures far enough to allow the beam to spread naturally across the target. FX Luminaire warns that using only one or two fixtures can create a flattened hot spot with uneven coverage.
Uplight Angles and Aiming
Typical upward angles: Most single-story applications work well at 30–45°. Use 60°+ for very tall features such as two-story facades and mature trees.
Aiming Best Practices:
- Test angles at night before finalizing placement; check visibility from all approach angles (street, driveway, sidewalk)
- Avoid aiming into windows or neighboring properties. Nothing ruins a design faster than glare complaints
- Adjust aim to reveal texture, not just brightness; grazing a brick wall creates more visual interest than shining straight into it
Hiding Fixtures for Professional Results
The principle: conceal the fixture, reveal the light effect.
Concealment Techniques:
- Position fixtures behind low shrubs or groundcover
- Recess into mulch beds so only the lens is visible
- Use fixture finishes (bronze, black, green) that blend with surrounding landscape
- Place well lights flush with grade so they disappear entirely
Avoiding Glare from Interior Spaces: Walk through your home at night during the design phase. Make sure facade uplights don’t spill into windows and create glare in living rooms or bedrooms.
Planning for Landscape Growth
Young landscapes change dramatically over 2-5 years. Shrubs fill in, trees grow taller, and plantings mature.
Future-Proofing Your Design:
- Leave flexibility in fixture position and aim so you can retune the design as plants fill in
- Prefer surface-mounted bullet lights over fixed well lights in young landscapes
- Avoid placing fixtures where they'll be buried by mature shrubs within two years
- Plan annual adjustments as part of maintenance: reposition fixtures, change beam angles, or add lights as the landscape evolves
ANSI/IES RP-47-23, the current landscape lighting standard, explicitly includes future visits for plant growth and system changes as part of the professional design process.

Common Uplighting Mistakes to Avoid
Even with quality fixtures, poor design decisions undermine results.
- Overlighting: Too many fixtures or excessive brightness creates a harsh, commercial look instead of subtle residential elegance. More light is not always better; restraint and balance win.
- Positioning fixtures too close: Uplights within inches of the target create unflattering upward shadows, hot spots, and a harsh "spotlight from below" effect.
- Ignoring sightlines: Poorly aimed uplights cause blinding glare from inside the house or outdoor living areas. Test aim from multiple vantage points, including interior rooms.
- Disconnected design: Uplighting should work with pathway lights, downlighting, and other layers. Treating it as a standalone project produces a disjointed nighttime experience.
ANSI/IES RP-47-23 flags glare, light trespass, over- and under-use of light, and balance with the natural environment as core landscape lighting design considerations.
Professional Uplighting Design Services in the DC Metro Area
Professional uplighting design involves more than selecting fixtures from a catalog. It requires:
- On-site evaluation after dark
- Custom fixture selection for each target
- Artistic placement that balances emphasis with restraint
- Post-installation adjustments to lock in the desired effect
Working with a dedicated landscape lighting designer who handles every project personally keeps the design consistent from first walkthrough to final aim.
Landscape Lighting Designers Plus offers personalized uplighting design throughout Bethesda, Potomac, Chevy Chase, Rockville, and Washington DC neighborhoods. Owner Craig Collins brings 21 years of specialized experience and treats low-voltage landscape lighting as an art form guided by balance and subtlety.
He works exclusively with low-voltage landscape fixtures, never 120V house-mounted lights, so every installation stays safe, energy-efficient, and in harmony with the landscape. Craig designs and installs each project himself—no project managers or sales reps—and has deep experience with the DC metro area's historic and architecturally distinctive properties.
Homeowners who want certainty before installation can preview their home at night with an on-site demonstration.
Frequently Asked Questions
What are the best uplights for my house exterior?
Bullet and accent lights work well for trees and architectural features where adjustability matters. Well lights suit permanent in-ground installs where fixtures should stay hidden. Most residential jobs use about 350–850 lumens, with a narrower beam for tall features and a wider beam for broad walls.
Where should uplights be placed on a house?
Place fixtures 1–3 feet from the foundation on single-story homes and 2–4 feet on two-story facades, then adjust for beam angle. Aim at columns, textured brick or stone, and other design details—not windows—and hide fixtures behind shrubs or in mulch beds.
How many uplights do I need for my house?
A typical front facade needs 4–8 uplights: 2–3 on architectural features, 2–4 on flanking trees, and 1–2 at the entry. Fewer well-aimed fixtures almost always beat a larger number of poorly placed ones.
What's the difference between uplighting and downlighting for houses?
Uplighting places fixtures at ground level and aims light upward to dramatize architecture, trunks, and vertical surfaces. Downlighting mounts fixtures overhead (in trees or on eaves) and casts light down for pathways, patios, and outdoor living areas, similar to moonlight.
How far from the house should uplights be placed?
Place uplights 1–4 feet from the house based on height and beam angle. Closer (1–2 feet) suits single-story homes with wide beams; farther (3–4 feet) suits two-story facades with narrow beams and helps avoid harsh hot spots on the wall.
Can uplighting damage my house or trees?
Low-voltage LED uplighting produces little heat and will not damage house materials or tree bark when installed correctly. Keep fixtures off combustible surfaces and maintain proper clearances so heat and moisture never become a problem.