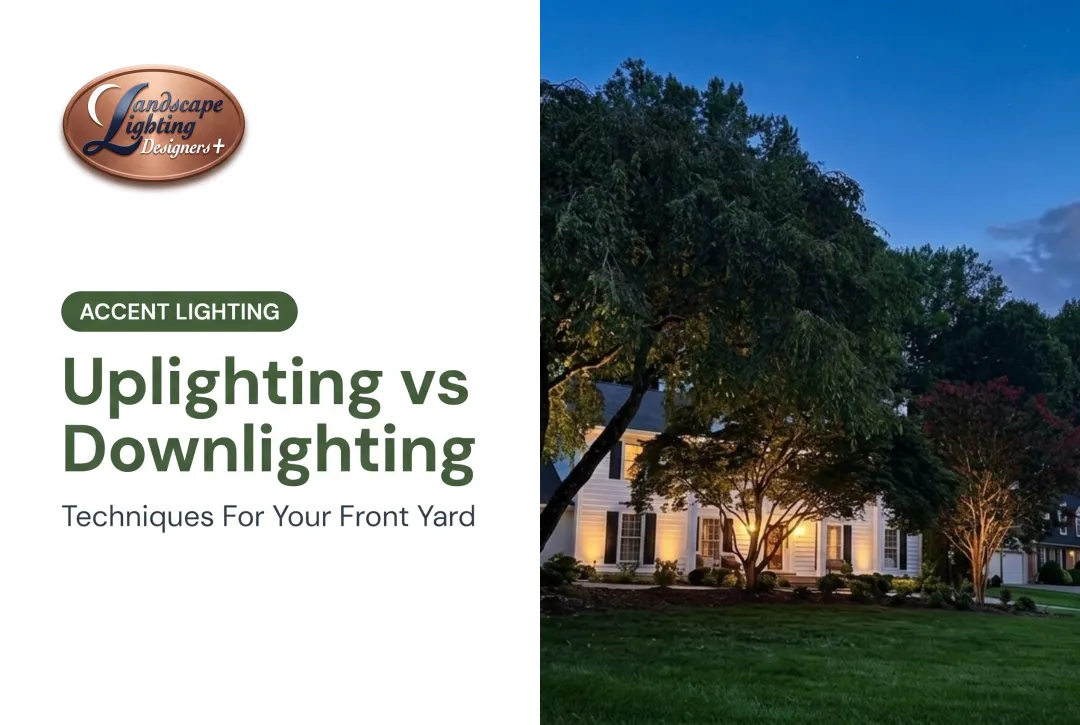
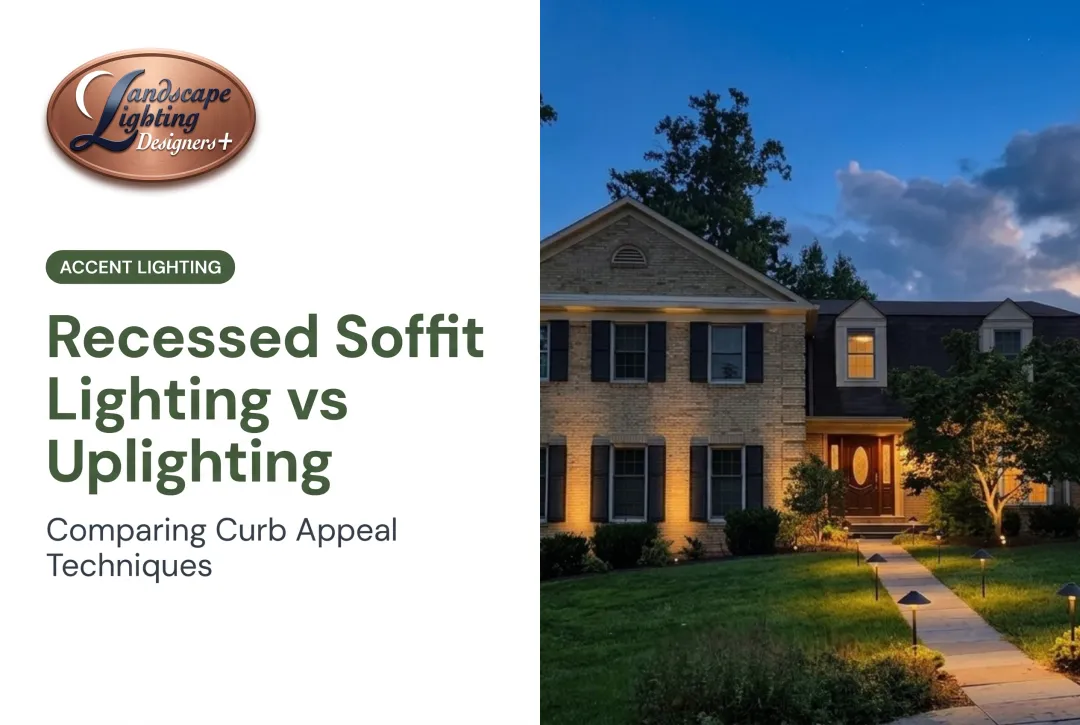
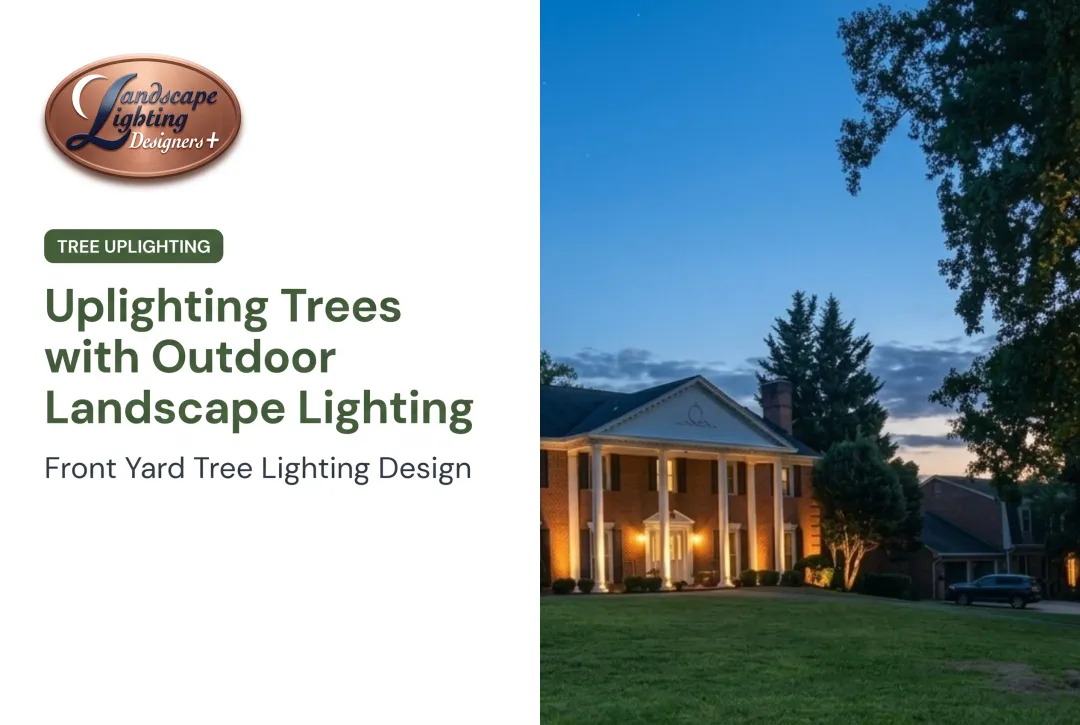
The two foundational techniques behind every good design are uplighting and downlighting. Many homeowners default to one or the other, or they overlight everything trying to "cover their bases." Neither approach delivers the balanced, subtle look a professionally designed system provides.
This guide breaks down when to use each technique, with practical placement guidance for trees, facades, patios, and pathways common to Bethesda, Potomac, Chevy Chase, and DC properties.
Key Takeaways
- Uplighting dramatizes trees, columns, and facades by casting light upward from ground level
- Downlighting mimics natural sunlight from above, ideal for patios, walkways, and safety-focused zones
- The best designs layer both techniques rather than picking one exclusively
- Beam angle, placement, and glare control separate a professional look from a DIY one
Uplighting vs Downlighting: Quick Comparison
| Factor | Uplighting | Downlighting |
|---|---|---|
| Primary purpose | Drama, accent, architectural highlight | Function, safety, ambient wash |
| Typical beam angle | Narrower, roughly 12-30° for focused highlighting | Wider, roughly 40-60°+ for area coverage |
| Fixture placement | Ground-mounted, hidden in beds or behind features | Elevated in trees, under eaves, or on posts |
| Common applications | Trees, columns, stone walls, water features | Pathways, patios, decks, driveways |
Beam angle isn't a hard rule. As VOLT Lighting explains, the same fixture creates a wider circle of light as mounting distance increases. A well-designed system usually mixes several beam spreads rather than sticking to one.
What Is Uplighting and Where Does It Excel?
Uplighting means placing a low-voltage fixture at ground level and aiming it upward, typically at 45- to 75-degree angles, to reveal texture and form on a vertical surface. The result is drama: Shadows cast upward create depth and a sense of grandeur that daytime light never shows.
This technique works best on:
- Mature specimen trees with interesting trunk or canopy structure
- Columns and porch supports
- Stone, brick, or stucco facades
- Water features and garden statuary
Wall Grazing for Texture
For stone or masonry walls, "grazing" places the fixture close to the surface, no more than about 12 inches away, at a narrow angle. This exaggerates texture and shadow lines rather than washing the wall flat. Moving the fixture farther out softens the shadow; moving it closer intensifies it.

Historic DC Facades
Federal-style townhomes, rowhouses, and columned entries throughout Georgetown, Capitol Hill, and Chevy Chase respond particularly well to low-angle uplighting on brick and masonry. In our design work on these historic properties, we favor low-profile fixtures, concealed wiring, and warm-white LEDs in the 2700K–3000K range. That color temperature complements traditional materials without looking artificial.

Choosing Beam Width for Trees
Beam selection drives the whole look. A narrow beam concentrates light on a slender trunk or a tall, columnar tree. A wider beam suits a broad canopy or when you want to wash a larger section of a building. According to CAST Lighting's tree guidance, the right choice depends on the tree's height, shape, and the effect you're after, not a fixed formula.
What Is Downlighting and Where Does It Excel?
Downlighting flips the script: fixtures mount high, in trees, under eaves, or on posts, and aim downward to mimic natural sunlight. It's the workhorse of a landscape lighting plan, providing usable, functional light rather than pure drama.
Downlighting excels on:
- Patios and outdoor entertaining areas
- Driveways and entry walks
- Decks and steps
- Any high-traffic zone where visibility matters
Moonlighting: Nature's Own Shadow Pattern
One standout downlighting technique is "moonlighting," mounting fixtures high in mature tree canopies, typically 20-30 feet up, and aiming them downward. The light filters through branches and leaves, casting dappled, irregular shadows on the ground below that look like real moonlight rather than a hard beam from a fixture.
For wooded or heavily treed properties, moonlighting avoids the artificial "stadium" look that comes from too many ground fixtures pointed at open lawn.

Safety and Perception, Not Just Aesthetics
Good lighting genuinely changes how safe a space feels. A 2024 peer-reviewed study on outdoor lighting found a strong relationship between illuminance and how safe people perceived an area to be.
That research measured perception, not a documented drop in falls. Still, well-placed downlighting on steps, grade changes, and walkways gives people the visual information they need to move confidently after dark.
Photographs settle this faster than descriptions—our lighting project gallery shows how these effects look after dark on finished homes.
Uplighting vs Downlighting: Which Is Better for Your Property?
Neither wins outright. The "better" choice depends entirely on your goal.
- Choose uplighting for trees, facades, and focal features you want to showcase
- Choose downlighting for patios, paths, and zones where people walk, gather, or need visibility
Lean too heavily on one technique and the results suffer. All-downlight properties look flat and sterile, functional but forgettable. All-uplight properties look disconnected, with isolated pools of drama and no cohesive ambient base.
The professional standard is layering: downlighting sets a safe, ambient baseline across the property, while uplighting adds selective drama on two or three focal points.
That's the approach we take on every project. We design each layout around your home, its architecture, its landscape features, and how you actually use the space — no fixed ratio or formula.
Avoiding Common Mistakes: Glare, Over-Lighting, and DIY Pitfalls
The "cave effect" is the outdoor version of a badly lit room: one harsh pool of light with dark voids everywhere else. Over-uplighting without downlighting balance creates the same problem outdoors—bright, disconnected spots on trees or walls, with nothing tying the scene together.
Common over-lighting mistakes include:
- Flooding a facade with too many uplights at full brightness
- Lighting every tree instead of choosing a few focal points
- Skipping path or ambient downlights that fill the gaps between accents

Glare Control That Actually Works
Direct line-of-sight to a bare bulb is the enemy of a professional-looking install. Effective control methods include:
- Hiding fixtures behind plants, rocks, or garden beds
- Using shrouds or louvers on exposed fixtures
- Aiming precisely so light hits only the intended target, not neighboring windows or eyes
DarkSky's outdoor lighting principles reinforce this: shield the source, aim carefully, and don't let the beam spill past what actually needs illuminating.
Why Design-First Beats DIY
Craig Collins, owner of Landscape Lighting Designers Plus, approaches every project as a designer first and installer second. He personally walks the property, recommends fixture types and placement, and often returns after installation to fine-tune positioning.
One client, Sarah S., admitted she initially worried the plan would be too much light, only to find the finished result perfectly balanced.
This design-first approach uses only 12V landscape fixtures, never 120V house-mounted lights. That low-voltage focus helps avoid the overlit, mismatched look DIY kits often produce.
Bringing It Together: A Layered Lighting Plan for DC-Area Homes
Building a balanced plan doesn't require guesswork. Start here:
- Identify 2-3 focal points for uplighting, such as a mature tree, an entryway column, or a distinctive architectural detail.
- Map high-traffic zones for downlighting coverage, including patios, steps, and driveways.
- Layer the two so ambient safety and selective drama work together, not against each other.
Historic properties throughout Georgetown, Capitol Hill, and Cleveland Park often need surprisingly little to transform. Even a simple three-fixture system on a rowhouse can dramatically change how the home reads at night.
If you're weighing where to start, a complimentary design consultation can map the right balance for your property—whether you're in Bethesda, Potomac, Chevy Chase, or another DC neighborhood. There's no pressure to add more than the home actually needs.
If you are still weighing options, a nighttime preview of your own home removes most of the guesswork.
Frequently Asked Questions
What are uplights and downlights?
Uplight is directed upward from ground-level fixtures to highlight trees, walls, or columns. Downlight is directed downward from elevated fixtures, mimicking natural sunlight for pathways, patios, and safety zones.
Can downlights be used as uplights?
Some adjustable spotlights and gooseneck fixtures can serve both roles. Dedicated fixtures designed specifically for each direction, however, generally perform better and last longer.
Is uplighting better than downlighting?
Neither is universally better. Uplighting serves drama and accent goals, while downlighting serves function and safety. Professional designs layer both rather than choosing one.
What is moonlighting in landscape design?
Moonlighting mounts downlights high in mature tree canopies, typically 20-30 feet up, so light filters through branches. The result is a dappled, natural-looking shadow pattern on the ground.
How do I avoid glare with outdoor uplights?
Hide fixtures behind plants or rocks, and add shrouds or louvers on any exposed units. Aim low-voltage fixtures at the target—not at eye level—for precise, glare-free light.
Do I need a professional for landscape lighting design?
DIY kits exist, but professional design balances fixture placement and glare control. You get a layout tailored to your property instead of a generic setup that needs frequent fixes.