Layered lighting design transforms outdoor spaces by combining three distinct layers: ambient illumination for safety and navigation, task lighting for outdoor activities, and accent lighting that highlights architectural and landscape features. This approach, adapted from interior design principles, creates dimension and usability while respecting the natural landscape.
Whether you're planning a complete outdoor lighting overhaul or adding to an existing system, understanding how to balance these three layers will help you create an elegant, functional result that enhances your property's nighttime appeal.
Key Takeaways
- Combine ambient, task, and accent layers to build depth, safety, and nighttime function
- Map zones, choose 12V fixtures and beam spreads, then size the transformer for voltage drop
- Keep warm white (2700K–3000K) consistent across every layer for visual harmony
- Favor contrast over brightness—over-lighting and glare flatten the landscape
- Complex yards with mature trees or multiple living areas benefit from a design consult
Understanding the Three Layers of Landscape Lighting
Layered lighting borrows interior design ideas and applies them outdoors so your yard gains depth, usability, and atmosphere without overpowering the landscape. Each layer serves a distinct purpose and requires different fixture types, placement strategies, and brightness levels.
Ambient Lighting Layer
Ambient lighting is the foundation layer that provides overall illumination for safe navigation and general visibility throughout outdoor spaces. It is the base glow that lets you move through the yard after dark without missing a step or losing the path.
Common ambient fixtures for landscapes include:
- Path lights placed along walkways and garden borders
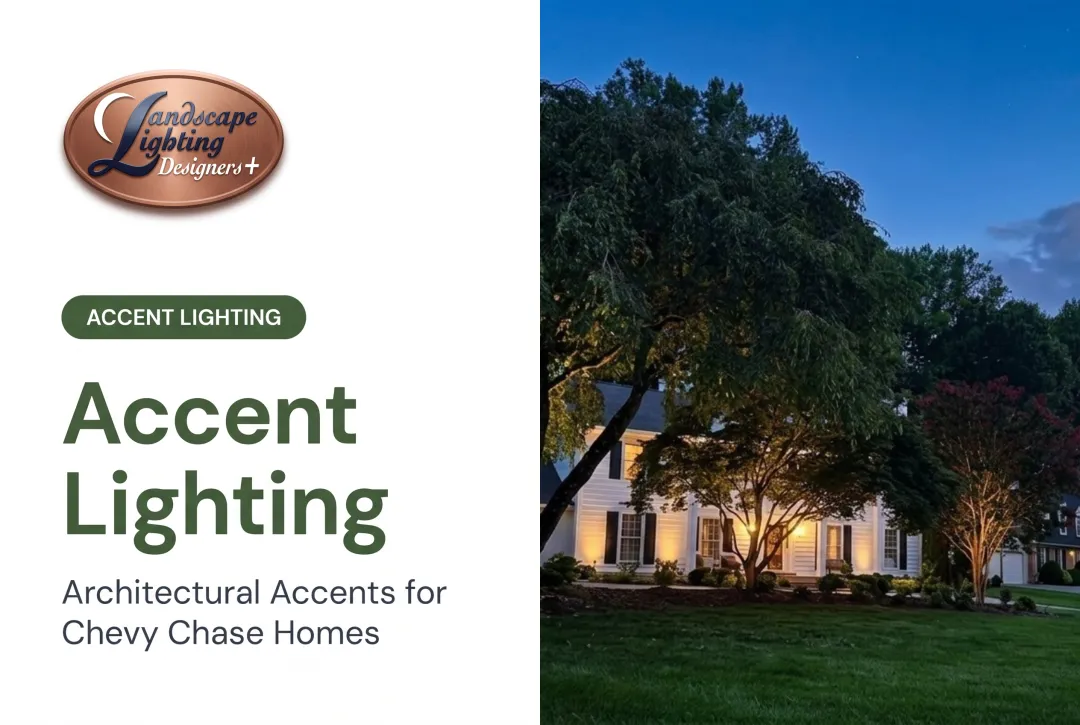
- Moonlighting: downlights mounted high in tree canopies that cast gentle, dappled light below
- Low-level post lights that create a wash of light across yards and gardens
- Shielded downlights on pergolas or deck structures
The goal is even, subtle coverage that establishes atmosphere without overwhelming the space. Kichler describes downlighting as creating a subtle, inviting effect that mimics natural moonlight filtering through tree branches.
Task Lighting Layer
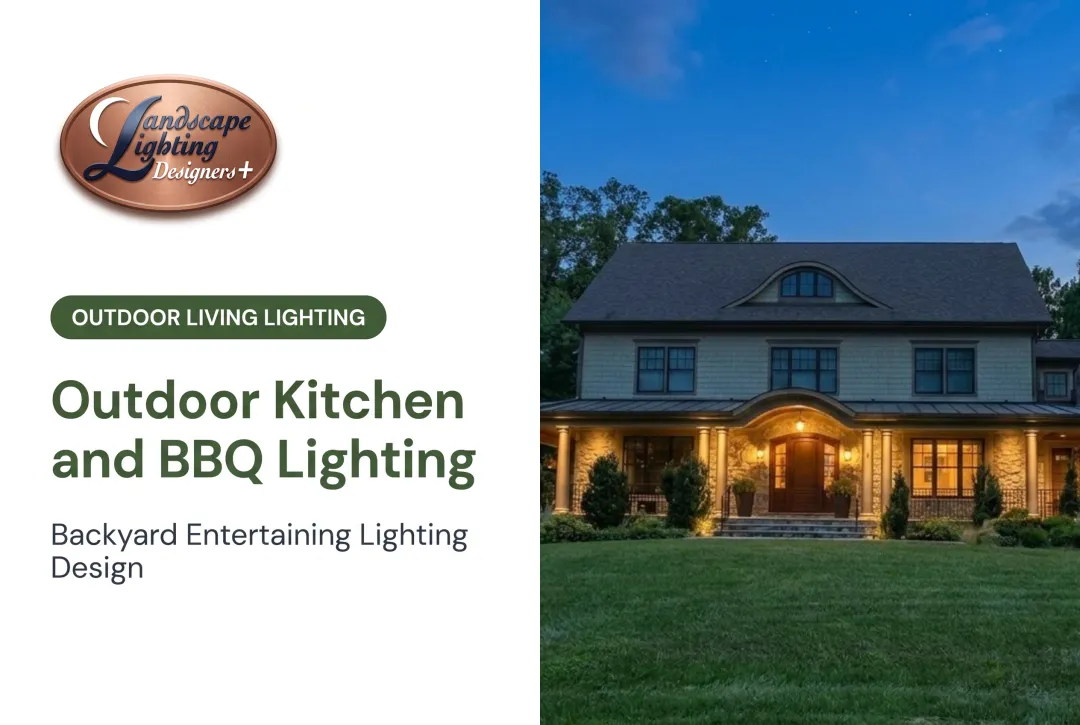
Task lighting provides focused illumination for specific outdoor activities: grilling, dining, reading on a patio, working at an outdoor cooking station, or navigating steps and grade changes safely.
This layer must be brighter and more directional than ambient lighting, positioned to eliminate shadows without creating harsh glare. Step and path fixtures support safe footing where grade changes and tight walkways need extra clarity.
Task lighting applications include:
- Directional spotlights over outdoor kitchens and grills
- Step lights on stairs and deck risers
- Focused pendant-style fixtures above dining areas
- Well-placed area lights for outdoor workspaces
Accent Lighting Layer
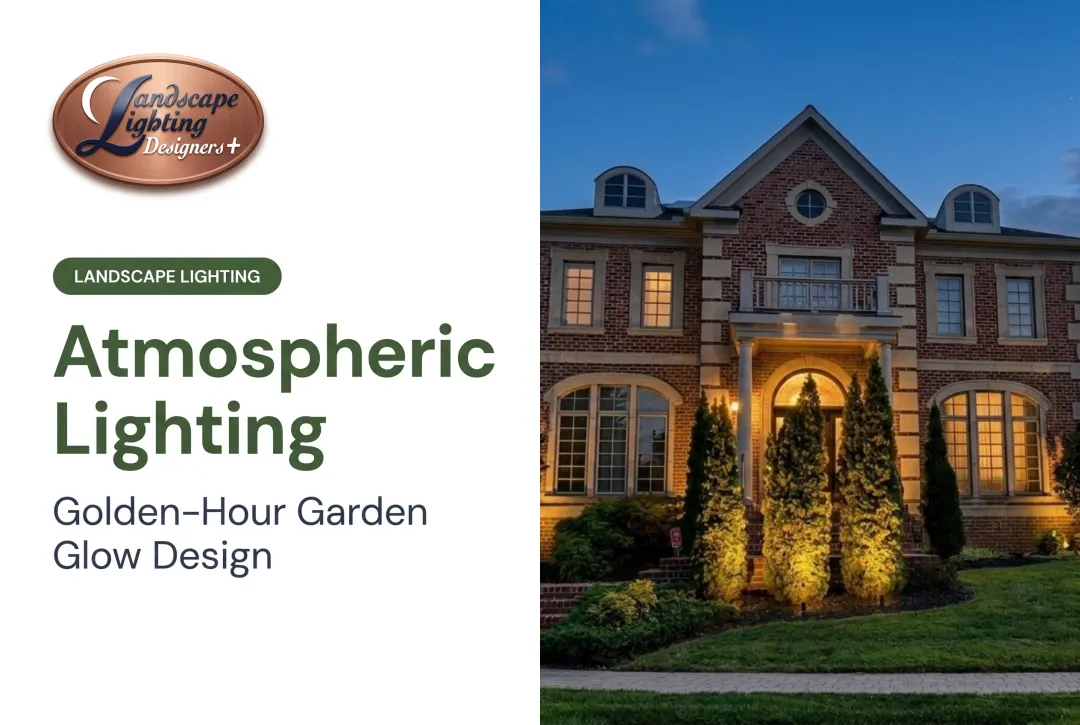
Accent lighting is the artistic layer that draws attention to landscape features: uplighting specimen trees, grazing stone walls, highlighting architectural details, or illuminating water features and sculptures.
Uplighting creates drama and focal points, while the beam angle determines how much texture and contrast you reveal. Narrow beams concentrate light onto trunks and vertical features, while wider beams soften detail and spread illumination across broader surfaces.
Build contrast between accent and ambient layers with fixture output, aiming, beam spread, and dimming—not a fixed brightness ratio.

How to Design Layered Lighting for Your Landscape
Step 1: Map Your Property's Lighting Zones
Walk your property at dusk and identify three types of zones:
Functional zones include entryways, pathways, driveways, steps, slopes, and dark corners where ambient and task lighting improve safety and navigation.
Feature zones highlight specimen trees, architectural details, stone walls, water features, sculptures, and mature gardens where accent lighting adds drama.
Activity zones cover patios, outdoor kitchens, dining areas, fire pits, and seating areas where task lighting supports evening use.
Sketch a simple site plan marking where each layer is needed. Note viewing angles from windows, seating areas, and the street. Avoid placing fixtures where beams shine directly into sight lines.

Step 2: Select Fixtures for Each Layer
Low-voltage fixtures (12V or 24V) suit landscape lighting: they're safer to handle, energy-efficient, and simpler to install than line-voltage systems.
For ambient lighting:
- Path lights with wide flood beams (60-120°) for even walkway coverage
- Tree-mounted downlights positioned 20-30 feet high with medium spreads
- Low-level post or bollard lights for area illumination
For task lighting:
- Directional spotlights or adjustable bullet fixtures with medium beam spreads (30-50°)
- Step lights with shielded optics to prevent glare
- Pendant-style or area lights for outdoor living spaces
For accent lighting:
- Adjustable spotlights with narrow beams (10-30°) for tall trees and vertical features
- Well lights for uplighting at ground level
- Directional fixtures with medium spreads for broader architectural elements
FX Luminaire defines beam angle as twice the vertical angle where intensity reaches 50% of maximum—a photometric standard that helps you predict coverage area and intensity at different mounting distances.
Step 3: Calculate Power Requirements and Wire Runs
Add up the wattage (or volt-ampere rating) of all planned fixtures to determine transformer size. Kichler recommends matching total system VA to transformer wattage—for example, 300 VA of fixtures requires at least a 300W transformer.
Voltage drop considerations are critical: Longer wire runs from transformer to fixtures cause voltage loss, resulting in dimmer light at distant fixtures.
Voltage drop = (2 × cable length × total VA on run) / cable constant
Then: End-fixture voltage = transformer tap voltage - voltage drop
Aim for end-fixture voltage above 10V. Calculate each cable run separately.
Start with 12 AWG wire and increase conductor size if the calculation shows excessive voltage drop. Use multi-tap transformers (with 12V, 13V, 14V, 15V taps) to compensate for voltage loss on longer runs and maintain uniform brightness.

Step 4: Install and Balance the Layers
Install fixtures in phases: ambient first, then task, then accent. Test how the layers interact before you lock in final placement.
Balancing strategies:
- Adjust angles and spacing so ambient coverage stays even and does not wash out accents
- Keep task light bright enough for use without harsh bright/dark contrast
- Place accents for contrast and focal interest, not simply more brightness
- Check the scene from indoors, seating areas, and the street
Add timers or smart controls so each layer can run on its own schedule:
- Ambient: dusk-to-dawn
- Accent: entertaining hours
- Task: on-demand or motion sensors
Smart transformer systems support up to three zones with independent schedules, monitoring, and phone or voice control—ideal for managing layers independently.

For visual reference, our portfolio of completed projects applies these techniques to DC-area houses of very different styles.
When Should You Design Layered Lighting for Your Property?
Layered lighting design delivers the most value when outdoor spaces serve multiple purposes or when homeowners want to showcase landscape investments.
Ideal scenarios include:
- Properties with mature landscaping, specimen trees, or established gardens worth highlighting
- Homes with extensive outdoor living areas—patios, outdoor kitchens, pools, fire features, and dining spaces
- Historic or architecturally distinctive homes where lighting should complement design rather than compete with it
- Properties in neighborhoods where nighttime curb appeal and perceived property value matter
Simpler approaches often suffice for small yards with minimal outdoor activities. If you rarely use outdoor spaces after dark or have few landscape features, ambient path lighting plus a few accent highlights is often enough.
In the DC metro area, properties in Bethesda, Potomac, Chevy Chase, and Georgetown often benefit from full three-layer designs. Mature trees, formal landscaping, and active outdoor entertaining make the extra layers worth it.
Small urban row houses can still transform with just three well-placed fixtures: one uplight on a front tree, path lights along the walkway, and an entrance accent.
Key Factors That Affect Layered Lighting Results
Outdoor lighting success depends on variables that don't affect interior lighting: weather exposure, seasonal foliage changes, and integration with the natural landscape.
Fixture Quality and Weather Resistance
Outdoor fixtures must withstand rain, temperature extremes, and UV exposure. Quality construction (solid brass, corrosion-resistant aluminum, sealed optics) directly impacts longevity and performance.
IEC 60529 defines IP ratings: the first digit grades solid-object protection, the second grades liquid protection. For example, WAC Lighting's 6011 model is IP66-rated, protecting against powerful water jets, and offers a 10-year warranty.
Cheap fixtures corrode, leak, and fail within 2-3 years. Professional-grade low-voltage fixtures, when properly specified, can last 15-20 years with minimal maintenance.
Beam Angle and Light Distribution
Beam angle determines coverage area and intensity. Narrow beams (10-30°) create dramatic accent lighting on tall trees or narrow architectural features, while wide beams (60-120°) provide ambient coverage for paths and seating areas.
Mismatched beam angles create problems:
- Dark gaps between fixtures
- Overlapping hot spots
- Insufficient coverage on tall features
- Wasted light spilling beyond the target
FX Luminaire offers 18-degree diffusers for concentrated uplighting, 30-32-degree floods for medium coverage, and 56-58-degree wide floods for broader ambient applications—measured using LM-79 photometric testing.
Color Temperature and Rendering
Warm white (2700K-3000K) enhances natural landscape tones and creates inviting atmosphere. Cooler temperatures (4000K+) can make plants look washed out and feel institutional.
WAC Lighting recommends 2700K-3000K for landscape applications. DarkSky International recommends 2700K or lower for night-friendly lighting; if using 3000K, they call for shielding, careful aiming, and timers or motion sensors.
Maintain consistent color temperature across all three layers, typically 2700K or 3000K for residential landscapes, to preserve visual harmony. Mixing warm and cool tones in the same outdoor space creates a jarring, disjointed effect.
Placement Height and Distance
Fixture placement relative to the subject affects shadow patterns and coverage.
General guidance:
- Path lights: 18-24 inches tall. Kichler generally recommends 10-14 feet between fixtures; FX Luminaire's calculator refines spacing from photometric data and path width.
- Accent uplights: Position 12-18 inches from tree trunks or walls; closer placement increases contrast and texture, while greater distances soften detail.
- Moonlighting downlights: Mount at least 20-30 feet high in tree canopies, positioned so the source isn't visible or blinding from below.
Improper placement distances create harsh shadows, glare, or insufficient coverage. Test placement before permanently securing fixtures.
Voltage Consistency Across Wire Runs
Voltage drop causes fixtures farthest from the transformer to appear dimmer than those near the power source.
Use the voltage-drop formula for every cable run. Compensate by:
- Using multi-tap transformers to boost voltage on long runs
- Increasing wire gauge (moving from 12 AWG to 10 AWG or 8 AWG) when calculations require it
- Distributing fixtures across multiple circuits rather than daisy-chaining everything on one run
- Positioning the transformer centrally to minimize maximum run length
Proper voltage management keeps brightness even across every layer, so path lights at the far end of the driveway match those near the house.

Common Mistakes When Designing Landscape Lighting Layers
Over-lighting: Too many fixtures or overly bright lamps wash out layered effects, create light pollution, and make homes look like parking lots instead of residences. Kichler warns that an overlit tree distracts from an otherwise balanced design.
Use lower output, narrower aiming, fewer fixtures, or dimming before you add more light.
Ignoring glare: Beams aimed into sight lines—from windows, patios, or neighboring properties—create discomfort and undercut a subtle design. DarkSky recommends shielding and aiming beams downward so light stays on target.
Test the system from multiple angles, including inside your home and from neighboring properties.
Treating all layers equally: When ambient, task, and accent layers share the same brightness and beam character, the scene goes flat. Build contrast through aiming, beam spread, output, and dimming—not by adding more fixtures.
- Ambient: even, restrained coverage
- Task: brighter and directional
- Accent: focused contrast for drama
Using uniform spacing formulas: A fixed spacing ignores output, beam spread, path width, curves, and desired overlap. Calculate spacing based on photometric data for each fixture type rather than applying a one-size-fits-all rule.
Mixing color temperatures: Combining 2700K warm white path lights with 4000K cool white accent fixtures creates visual discord. Maintain consistent color temperature across all layers.
To evaluate the design on your own house rather than someone else's, we can show you your home at night before any work begins.
Frequently Asked Questions
What's the difference between landscape lighting layers and indoor lighting layers?
The three-layer principle (ambient, task, accent) is the same outdoors, but fixtures must be weather-resistant and account for plant growth, moonlight, streetlights, and local ordinances. Outdoor systems typically use low-voltage 12V or 24V for safety; interiors often use 120V line voltage.
How many fixtures do I need for each lighting layer?
Ambient layers usually need path lights every 8–14 feet, plus 2–3 downlights per major tree. Plan 1–2 task fixtures per activity area and 1–3 accent fixtures per feature (more for large trees or long walls). Base final counts on photometric data, not rules of thumb.
Can I add lighting layers to an existing landscape lighting system?
Yes. If you already have path lighting, you can add accent uplights and task fixtures as long as the transformer has capacity. Calculate total VA for the expanded system; add a second transformer or upgrade if you are near the limit.
What's the best way to control different lighting layers?
Put each layer on its own zone: ambient on dusk-to-dawn timers, task on manual or motion control, and accent independent for entertaining. Smart transformers support multi-zone schedules, dimming, and phone or voice control.
Should I use the same color temperature for all three layers?
Yes. Use one color temperature across all layers, typically 2700K–3000K warm white, so the space stays visually consistent. Choose it in the design phase and specify it for every fixture.
When should I hire a professional landscape lighting designer instead of DIY?
Hire a pro for complex layouts, multiple outdoor living zones, mature specimen trees, or historic architecture. Designers balance all three layers, calculate voltage drop, specify beam angles, and test viewing angles before final placement. Credentials such as AOLP's Certified Low Voltage Lighting Technician mark installers with recognized training.
Ready to transform your outdoor spaces with professionally designed layered lighting? Landscape Lighting Designers Plus has served homeowners throughout Bethesda, Potomac, Chevy Chase, Rockville, and Washington DC for over 21 years.
We design and install custom low-voltage systems that balance beauty, function, and safety. Contact us at (888) 582-8845 or contact@landscapelightingnow.com for a complimentary design consultation.