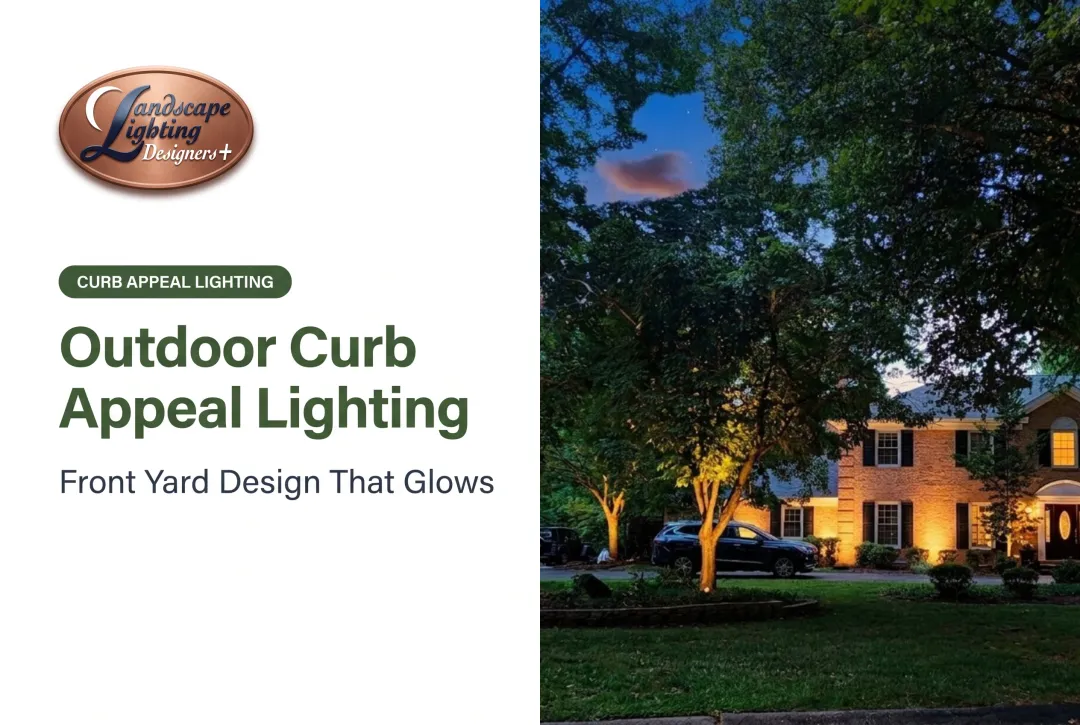
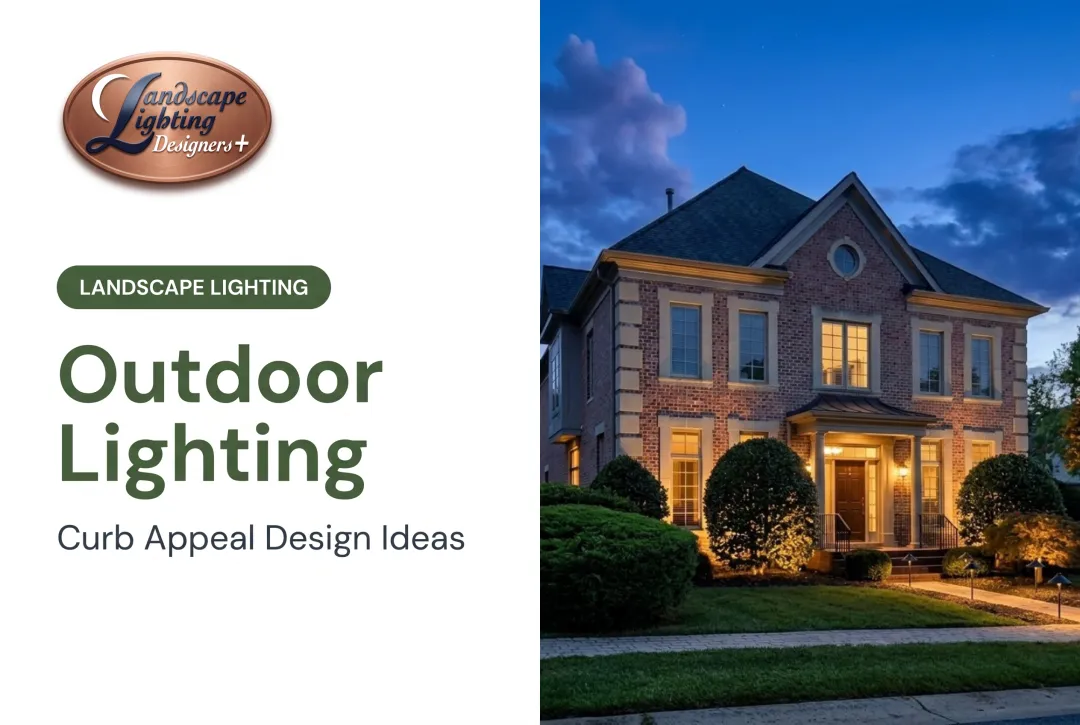
Outdoor lighting placement involves more than simply positioning fixtures along a path or aiming spotlights at your home. It requires understanding how distance and beam angle work together, planning for landscape growth, and testing every placement at night to reveal glare issues invisible during daylight.
This guide covers professional placement techniques for entrances, pathways, trees, facades, and landscape features with specific distances and measurements drawn from industry standards and 21 years of residential lighting experience across the DC metro area.
Key Takeaways
- Hide the fixture, reveal the light—placement should create effects without visible glare
- Mount outdoor wall sconces at eye level (60–72" from the ground), spaced evenly from the door
- Stagger path lights 6–8 feet apart on alternating sides—never in parallel rows
- Match tree uplighting distance and beam angle to tree size and canopy form
- Factor plant growth, architectural style, and indoor sightlines into every placement choice
Core Principles of Professional Outdoor Lighting Placement
Hide the Fixture, Reveal the Light
The foundational principle of professional placement is simple: fixtures should be concealed behind plantings, recessed into hardscape, or positioned above typical sightlines. The goal is to create visual drama through light itself, not through visible hardware.
This approach requires careful attention during daytime installation. Position fixtures so they tuck behind shrubs, sit flush with walls, or mount high enough that they disappear from the viewer's perspective when standing or seated outdoors.
Distance and Beam Angle Work Together
The relationship between fixture distance and beam angle determines coverage and intensity:
- Narrow beams (10-15°) need greater distance from the target to avoid harsh hot spots—best for tree trunks and vertical columns
- Medium beams (35°) suit small deciduous trees and accent features at moderate distances
- Wide beams (60°) can sit closer to the target and work well for broad canopies, facades, and general landscape beds

According to Kichler's landscape lighting fundamentals, matching beam angle to the shape and scale of the target is essential for even coverage without glare or wasted light.
Plan for Landscape Growth
Fixtures placed between young shrubs today will be completely blocked within 1-2 years as plants mature. Before finalizing placement, consider:
- Mature plant size and spread
- Seasonal foliage changes
- Root zones that restrict future trenching
- Tree canopy expansion over time
VOLT recommends reducing fixture spacing or adjusting placement when plants or decorative elements obstruct visibility.
Layer Multiple Light Directions
Combining uplighting, downlighting, and path lighting creates depth that single-direction lighting cannot achieve. Uplighting reveals vertical architectural features and tree forms, downlighting provides ambient safety illumination, and path lighting guides movement through the space.
This layered approach delivers a three-dimensional result that works especially well on properties with mature trees, varied hardscape, and architectural detail—common across Bethesda, Potomac, and Chevy Chase.
Test All Placements at Night
Walking the property after dark reveals glare issues and coverage gaps invisible during daytime installation. DarkSky International and the Illuminating Engineering Society recommend directing light only where needed, using shielding and careful aiming so beams point downward without spilling beyond their targets.
After initial installation, check sightlines from bedroom windows and outdoor seating areas. If you can see the lamp source directly, the fixture needs adjustment, shielding, or relocation.
DC Metro Area Considerations
Historic architecture styles such as Federal townhomes, Victorian homes, and brick colonials need restrained placement that highlights rather than overwhelms. Mature tree canopies and urban row house constraints demand compact, space-efficient designs. According to DC's Historic Preservation guidance, publicly visible changes on primary elevations require careful treatment, minimizing prominent conduit runs and new penetrations where feasible.
Front-of-House Placement: Entrances, Doors, and Facades
Entry Door Wall Sconces
Mount sconces at eye level, 60-72" from the finished floor. That height lights keyholes and door hardware clearly without glare at the door.
Position fixtures at least 6" from door frame edges so light spreads evenly across the entry. For double-door entries with sconces on both sides, ensure fixtures are symmetrically placed and sized proportionally to the door height—ideally at least one-quarter the door height to maintain visual balance.
Facade and Architectural Uplighting
Wall Washing vs. Wall Grazing:
- Wall grazing: WAC Lighting specifies placing fixtures no more than 12" from the wall surface, aimed nearly parallel to emphasize texture on brick, stone, or stucco
- Wall washing: CAST Lighting recommends a typical minimum of 12" from the wall with an 85-120° beam angle to distribute light evenly across smooth facades
For single-story facades, position spotlights 12-24" from the foundation wall, angled upward. Two-story facades require fixtures placed 2-4 feet from the wall with narrower beam angles (15-25°) and higher output to reach upper architectural details.

Garage Area Lighting
Install fixtures above the garage doors or flanking both sides—skip a single flood light, which throws harsh shadows across the face of the garage.
- Use soft, even light so the garage reads as part of the home exterior
- Size fixtures to the door: larger doors need larger or multiple fixtures
- Keep output balanced with nearby entry and facade lighting
Porch and Covered Entry Ceiling Lights
For covered porches with ceilings, leave at least 6" clearance from the top of the door frame to the bottom of pendant or flush mount fixtures. This clearance prevents the fixture from visually crowding the door while maintaining adequate headroom.
Choose damp-rated fixtures for covered areas with condensation exposure; wet-rated fixtures for fully exposed locations subject to rain, irrigation, or splash. UL 1598 defines damp locations as subject to condensation and wet locations as subject to dripping, splashing, or flowing water.
Seeing the technique on a finished property makes the decision easier—our project gallery collects completed installations from homes around the DC metro area.
Path Light and Walkway Placement
Space path lights on alternating sides of the walkway in a staggered pattern, never in parallel rows on both sides. Two common starting ranges:
- 6-8 feet: VOLT's DIY guide baseline; tighten where plants or lower output reduce visibility
- 10-14 feet: Kichler's range when higher output, different optics, or mounting height allows wider gaps
Fixture output, optics, mounting height, and site conditions all shift the right distance. Validate actual overlap after dark rather than relying on daytime measurements alone.
Curves and Corners
Reduce spacing to 5-6 feet on curves and corners, especially on inside edges where light falls off faster. Tighter spacing prevents dark pockets that create trip hazards and visual gaps in the lighting composition.
Steps and Elevation Changes
Place a dedicated fixture at every step riser or elevation change, regardless of your spacing pattern. Missed steps create serious safety hazards, particularly on brick or flagstone paths common in older DC neighborhoods.
Kichler's step lights mount on steps, stairs, or flat surfaces with at least a 1" stair lip and light the riser edge directly.
Tree and Landscape Feature Lighting Placement
Tree lighting adds depth and structure after dark when fixtures sit at the right distance, angle, and beam width. Match the setup to the tree’s size and shape so you highlight form without hot spots or glare.
Small to Medium Trees (Under 20 Feet)
For trees under 20 feet, start with one well-aimed uplight:
- Position: 1–3 feet from the trunk
- Aim: 30–45° upward
- Beam: narrow 15–25° to light the canopy without a harsh trunk hot spot
Kichler recommends a 35° flood for small deciduous trees when you want slightly wider coverage with controlled spread.

Large Canopy Trees (20+ Feet)
Mature canopies need more than a single source. Use 2–3 fixtures, 3–6 feet from the trunk, aimed from different sides so light wraps the canopy instead of flattening it.
- Two to three accent fixtures at staggered angles
- Cross-lighting to show branch structure and dimensional form
- Wider beams (around 60°) when you need broader canopy coverage
Kichler notes that two 60° accent lights on opposite sides create 360° visual interest—especially effective on mature specimens common in Bethesda and Potomac estates.
Columnar Trees and Palms
Tall, narrow specimens read best with a tight vertical wash. Place a fixture 1–2 feet from the base with a 10–15° beam aimed straight up the trunk. That narrow throw limits spill and emphasizes height without washing nearby beds.
Moonlighting (Downlighting from Trees)
Mount fixtures 15–25 feet high in mature branches, angled 45–60° downward. VOLT identifies about 20 feet as the minimum height for a convincing moonlight effect.
Use wide beams (40–60°) at lower brightness so light filters through foliage and throws soft, dappled shadows on patios, lawns, and garden beds below.
Fixture Mounting and Obstruction Solutions
When shrubs or groundcover would block a base uplight, set the fixture on a 6–12" riser so the beam clears the foliage. Keep the housing below the plant line so the source stays hidden and only the light shows—the same “hide the fixture, reveal the light” rule that keeps tree lighting subtle.
Common Outdoor Lighting Placement Mistakes
Good fixtures still fail when placement is off. These four mistakes show up often on residential properties—and each has a straightforward fix.
Placing Uplights Too Close to Foundations
Fixtures jammed against walls aim too steeply, creating a harsh "spotlight from below" effect that flattens architectural detail. Pull facade uplights out 1–2 feet on single-story homes, or 2–4 feet on two-story facades, so the beam covers the wall at a softer angle.

Ignoring Sightlines from Inside the House
Perfectly aimed spotlights can create blinding glare from living room windows or patio seating. Poul's Landscaping recommends checking bedroom window sightlines after dark and adjusting until no lamp source is visible. Where a window faces a lit tree, move the fixture to the far side so the tree itself blocks the source.
Using Even Spacing on Both Sides of Walkways
Parallel rows of path lights look rigid and institutional rather than natural. Stagger fixtures on alternating sides, roughly 6–8 feet apart along the route, to keep a steady glow without the runway look.
Failing to Account for Landscape Growth
Spotlights set between young shrubs often disappear within 1–2 years as plants fill in. That usually means costly repositioning—or a full reinstall. During design, check mature plant sizes and leave clearance for future growth.
To evaluate the design on your own house rather than someone else's, we can show you your home at night before any work begins.
Frequently Asked Questions
Where should outdoor lights be placed?
Place lights in four zones: entrances (sconces at 60-72"), pathways (6-8 ft staggered spacing), architecture (uplights 12-24" from the foundation), and landscape (tree lights 1-6 ft from the trunk). Conceal each fixture while revealing the light.
What are common outdoor lighting mistakes to avoid?
Common mistakes include fixtures too close to walls, parallel path-light rows instead of staggered placement, glare into indoor sightlines, and no allowance for plant growth. Always check placement at night from living spaces and bedroom windows.
How far should landscape lights be from the house?
Facade uplights work best 12-24" from the foundation on single-story homes and 2-4 feet on two-story homes. Wall grazing stays within 12" of the surface; wall washing typically starts at 12" with wider beams (85-120°) for even coverage.
What is the best height for outdoor wall sconces?
Mount wall sconces at eye level between 60-72" from finished floor, positioned minimum 6" from door frame edges for optimal light spread. For double-door entries, ensure fixtures are symmetrically placed and sized at least one-quarter the door height for proper proportion.
How do you space path lights properly?
Space path lights 6-8 feet apart on alternating sides in a staggered pattern, or 10-14 feet as a looser starting point. Tighten to 5-6 feet on curves, and light every step or elevation change regardless of regular spacing.
Should outdoor lights point up or down?
Use uplighting for trees, architecture, and focal features to reveal form. Use downlighting (including moonlighting from trees) for patios, dining areas, and paths. The strongest result layers both: uplight for dimension, downlight for safe, usable light.
Landscape Lighting Designers Plus has served homeowners throughout Bethesda, Potomac, Chevy Chase, Rockville, and Washington DC since 2003, delivering custom low-voltage landscape lighting design and installation. Owner Craig Collins personally designs every project, treating placement as an art form guided by balance, subtlety, and respect for each property's unique character. For a complimentary design consultation, call (888) 582-8845 or email contact@landscapelightingnow.com.