Who should install soffit lighting? Licensed electricians or qualified outdoor lighting professionals with electrical certification. The technical demands—running conduit through attics, ensuring weatherproof seals, and complying with National Electrical Code requirements—make this a job for experienced professionals, not a homeowner with basic tools.
This guide walks through the entire process: what recessed soffit lighting actually involves, the prerequisites you must verify before starting, the step-by-step installation workflow, common challenges that derail projects, and when simpler low-voltage landscape lighting alternatives deliver similar curb appeal and security benefits without the complexity.
TL;DR
- Recessed soffit lighting is 120V work—hire a licensed electrician for safety and code compliance
- Confirm soffit depth (1.5–6 inches), material condition, and attic access before cutting
- Core steps: cut openings, run wiring, fit weatherproof housings, then moisture-seal test
- Low-voltage landscape uplighting can deliver similar accent and security benefits with simpler install
Understanding Recessed Soffit Lighting
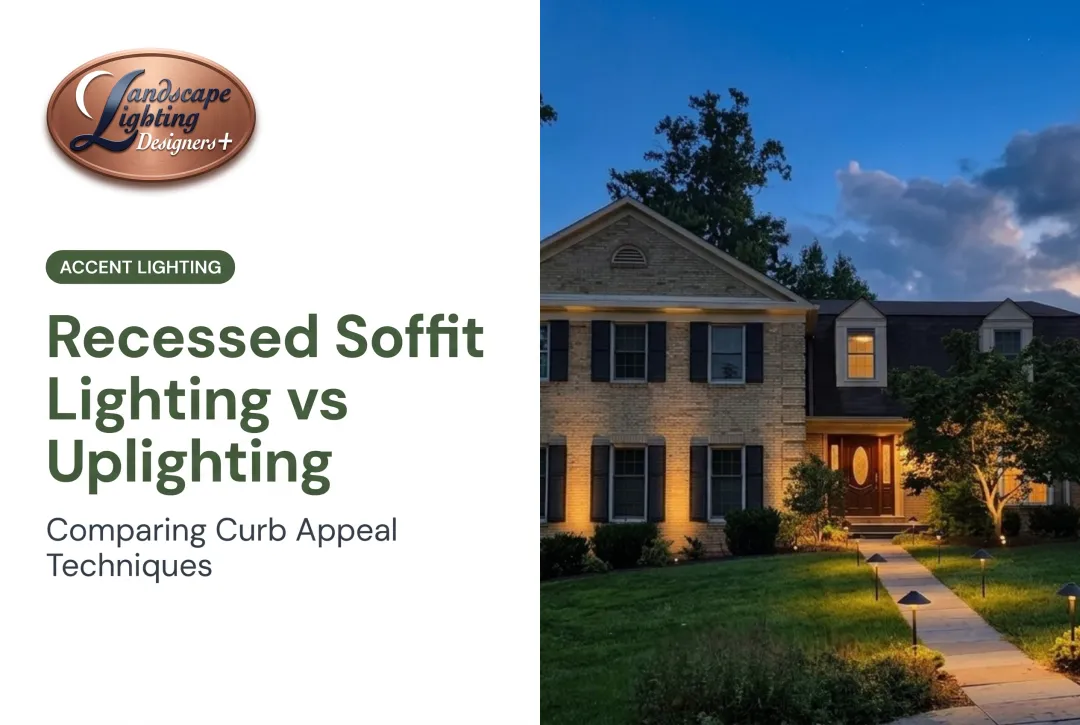
Recessed soffit lighting uses fixtures installed flush in the soffit (the underside of roof overhangs or eaves). The units cast light downward onto entryways, walkways, landscaping, façades, and other areas where you want steady exterior illumination or security coverage.
Retrofit vs. New Construction Installations
Retrofit installations mean cutting into existing soffits and routing wiring through finished attic or ceiling spaces. You work around insulation, HVAC ducts, structural beams, and tight access points. Precision matters: mistakes leave visible damage on the exterior.
New construction installations allow integrated planning during the building phase. Electricians can route wiring before soffits are closed in, choose ideal fixture locations without obstructions, and coordinate with framers to ensure adequate structural support.
Types of Recessed Soffit Fixtures
Wet-rated vs. damp-rated fixtures:
Wet-rated fixtures are required for exterior soffits exposed to rain and snow. The 2023 National Electrical Code calls for luminaires marked for their environment and installed so water cannot enter wiring compartments.
Damp-rated fixtures belong only in covered spots with indirect moisture. They are not suitable for open soffits where water can hit the fixture directly.
Canless vs. can-based fixtures:
- Canless (integrated LED): Direct-mount units (for example, HALO HLB8) need no separate housing. The HALO HLB line fits a 1.5-inch minimum plenum, so they suit shallow soffits. When the LED fails, you replace the whole fixture.
- Can-based (housing + bulbs): Traditional housings take separate trim and bulbs, usually need 4–6 inches of depth, and let you swap bulbs without pulling the housing. They need more cavity space and careful heat management.

Adjustable (gimbal) vs. fixed-position fixtures:
Gimbal fixtures pivot within their housing, allowing you to direct light at specific angles—useful for sloped soffits or highlighting architectural details. Fixed-position fixtures cast light straight down, providing consistent coverage for pathways and general illumination.
Key Performance Considerations
Lumen output requirements:
Match output to the job. Pathway and ambient lighting often needs about 400–800 lumens per fixture; security zones usually run higher.
As a product reference, the HALO HLB8 delivers 1,600 lumens at 20.9 watts. DarkSky International’s residential criteria cap output at 1,000 lumens to limit light pollution. That cap is a voluntary benchmark, not a building code.
Color temperature selection:
Warm white (2700K–3000K) creates residential ambiance and complements traditional architecture. Cooler temperatures (4000K–5000K) provide crisper illumination for security applications. The HALO HLB8 offers selectable 2,700K, 3,000K, 3,500K, 4,000K, or 5,000K, allowing you to match your home's aesthetic.
Prerequisites and Safety Considerations
Soffit Structure Assessment
Verify soffit material and integrity:
- Wood soffits: Easiest to cut and structurally sound for fixture support
- Vinyl soffits: Brittle and prone to cracking; require extra care during cutting
- Aluminum soffits: Durable but need specialized cutting tools to prevent bending
- Fiber cement (HardieSoffit): Often on 2x4 framing at 24-inch centers per James Hardie docs—confirm fixtures won’t weaken that support
Confirm minimum clearance for your fixture before you buy. Canless units like the HALO HLB need at least 1.5 inches of depth above the soffit; traditional can-based fixtures typically need 4–6 inches. Insufficient depth is the most common reason retrofit projects fail, so measure first.
From the attic or ceiling space above the soffit, map HVAC ducts, plumbing, insulation, and structural beams. Those obstructions shape wiring routes and may force you to move planned fixture positions.
Electrical Prerequisites
Circuit capacity: The HALO HLB8 draws 20.9 watts, so a six-fixture run is about 125 watts total. Have a licensed electrician confirm your exterior lighting circuit can handle the load—or whether you need a dedicated circuit.
All 120V electrical work must be done by a licensed electrician and inspected per local code. DIY 120V work risks fire hazards, code violations, insurance claim denials, and legal liability. Most jurisdictions also require a permit for 120V exterior lighting.
Safety and Code Requirements
National Electrical Code (NEC) requirements:
The 2023 NEC summarized by IAEI mandates:
- Environment-appropriate wet/damp location marking
- Installation that prevents water entry into wiring compartments
- Listed equipment installed according to manufacturer instructions
- Accessible junction boxes for all splices
GFCI protection: Requirements vary by application. Where GFCI is installed, follow NFPA testing recommendations and test monthly per the manufacturer.
IC-rated fixtures and combustible clearances:
If the soffit contacts attic insulation, use Type-IC (insulation contact) fixtures rated for direct contact. NEC 410.116 as reproduced by UpCodes requires 1/2 inch (13 mm) clearance from combustibles for non-IC luminaires; Type-IC luminaires may contact air-permeable insulation directly.

Permit requirements:
Washington DC's Electrical General Instant Permit, for example, covers installation of up to 10 new lighting fixtures. Requirements vary by jurisdiction, so check with your local building department before starting. Unpermitted electrical work can affect homeowner’s insurance and complicate a future sale.
Installation Process Overview
Professional installation typically takes 4–8 hours for an average home, depending on linear soffit footage, fixture quantity, and wiring complexity. Expect longer timelines if attic access is limited or if structural obstructions require design changes.
Planning and Layout
Fixture spacing depends on output, beam angle, mounting height, and intended use. A common starting point is 6–8 feet apart for ambient lighting, with closer spacing for high-security applications. Photometric data from your specific fixture should guide final placement. No universal spacing rule fits every soffit install.
Next, map the most efficient wiring path from your electrical panel or junction box to each fixture. Factor in attic access, obstructions, and code rules for accessible junction boxes.
Mark locations so fixtures align with architectural features—centered over doors, evenly spaced along rooflines—and clear of rafters or beams. Use a stud finder to confirm open paths before you cut.
Cutting and Preparation
Match the cutting method to the soffit material:
- Wood: hole saw sized to the fixture diameter
- Vinyl or aluminum: specialized bits; score first to limit cracking or bending
- Fiber cement: follow the manufacturer’s scoring and cutting guidelines
Hole size is critical: too large creates gaps that let moisture in; too small prevents proper fixture seating and may stress the housing during installation.
Electrical Wiring Installation
- Run exterior-rated cable or conduit from the power source through the attic to each fixture location
- Install junction boxes in accessible locations (per code) for every splice
- Choose wire gauge for circuit length and load—usually 14 AWG or 12 AWG in residential work
All wiring must meet NEC rules for exterior installs: correct support, protection from damage, approved connectors, and any stricter local requirements.
Fixture Installation and Sealing
Set the housing or canless body in the opening so it sits flush and faces the right direction. On adjustable units, confirm the gimbal moves freely before you lock anything down. Add trim last and aim gimbals for the beam you want.
Seal against moisture before you call the job done:
- Apply exterior-rated silicone around the fixture perimeter
- Seat every gasket fully—no gaps
- Check for any remaining path water could enter
The 2023 NEC requires installation that prevents water entry. Follow the manufacturer’s sealing specs exactly.

Post-Installation Testing and Validation
Initial Power-On Testing
Test each fixture individually before final sealing:
- Verify proper operation with no flickering or buzzing
- Confirm correct wiring connections
- Test GFCI protection (if present) by pressing TEST to confirm it trips, then RESET to restore power
Weather Seal Inspection
Conduct a thorough visual inspection:
- Check all fixture perimeters for gaps or incomplete sealant application
- Verify gasket seals are properly seated
- Spray fixtures gently with a hose to check for moisture leaks before finalizing
Lighting Performance Validation
Evaluate coverage at night:
- Check for dark spots indicating insufficient fixture quantity or poor spacing
- Assess ground-level light intensity to confirm adequate illumination for your intended purpose
- Verify no excessive glare or light trespass affecting neighbors
Address shadow and uniformity issues:
Harsh shadows or uneven coverage often indicate spacing problems or incorrect fixture aiming. Adjustable fixtures allow post-installation correction.
Final Code Inspection
Schedule required electrical inspection with your local building department to verify code compliance. In Washington DC, homeowners call (202) 671-3500 to schedule inspections for permitted electrical work. Obtain documentation of inspection approval for your records and future property transactions.
Common Installation Challenges and Solutions
Challenge: Insufficient Soffit Depth
Problem: Many modern homes have shallow soffits (less than 3 inches deep) that cannot accommodate traditional recessed fixtures.
Solution: Specify ultra-low-profile canless fixtures designed for shallow cavities. The HALO HLB line fits a 1.5-inch minimum plenum. Surface-mount fixtures are another option when the soffit has no usable cavity depth.
Challenge: Hidden Obstructions and Wiring Difficulties
Problem: HVAC ducts, structural beams, or dense insulation often block planned wiring routes once work begins.
Solution: Plan for extra labor in finished spaces, and use one of these workarounds:
- Route flexible conduit around the obstruction
- Use an alternate attic access point
- Relocate the fixture slightly to clear the conflict
Challenge: Moisture Infiltration and Condensation
Problem: Improper sealing allows moisture entry, leading to electrical shorts, fixture corrosion, and premature failure.
Solution: Seal and spec the install for wet conditions:
- Apply exterior-rated silicone sealant at every penetration
- Seat all gaskets fully before closing up
- Confirm the fixture is listed for wet locations
Type-IC fixtures generally handle condensation better than non-IC models because they are built for enclosed spaces.

When to Consider Low-Voltage Lighting Alternatives
Low-voltage (12V) landscape lighting can deliver similar accent and security benefits without cutting into soffits or running new 120V circuits. For many homes, it is the cleaner path to curb appeal and safer walkways.
Why Low-Voltage Landscape Lighting May Fit Better
Key advantages include:
- Skips soffit cutting and 120V electrical work, and often avoids permit requirements
- LED lamps last 25,000–50,000 hours, so fixture upkeep stays minimal
- Ground-level uplighting washes façades and highlights architecture without roofline changes
- A typical 20-fixture LED system draws about 200 watts—up to 90% less energy than older incandescent setups, and far below 1,000–2,000 watts for equivalent halogen
Combining Soffit Lighting with Landscape Lighting
Designers often layer soffit downlighting with low-voltage uplighting and path lights for full outdoor coverage. That mix delivers:
- Walkway and entry light from above, with trees, façades, and details lit from the ground
- Fewer dark spots and clearer visibility across the property
- Shadow and texture that single-source lighting cannot create

Landscape Lighting Designers Plus designs low-voltage systems for DC-area homes that complement soffit lights—or remove the need for them. Owner Craig Collins personally designs every project and works only with landscape fixtures, never 120V house-mounted lights, drawing on 21+ years in the metro area.
When Professional Lighting Design Consultation Helps
A design consult before you commit to soffit work helps you:
- Judge whether soffit lighting fits your architecture, landscaping, and goals
- Spot cost-effective alternatives that still deliver curb appeal and safety
- Avoid mistakes like shallow soffits, blocked wire paths, or the wrong fixtures
Good designers read the whole property—how downlighting, uplighting, and path light work together—so you choose the approach that actually fits the house.
If you want to see how this reads once it is installed, our gallery of completed lighting projects shows the approach on real properties.
Frequently Asked Questions
How much does soffit lighting installation cost?
Most installations run $200–$400 per fixture, depending on fixture quality, complexity, and local electrician rates. Total cost scales with fixture count and any new circuits or panel upgrades. Get multiple quotes from licensed electricians for accurate pricing.
Where should soffit lighting be placed?
Space fixtures 6–8 feet apart along soffits, with extra focus at entryways and architectural focal points. Aim light at walkways and key landscaping without creating glare. Exact spacing depends on fixture output, beam angle, and mounting height.
Is soffit lighting installation worth it?
Soffit lighting can improve curb appeal, safety, and security when installed well. Weigh those gains against cost and complexity; low-voltage landscape lighting often delivers similar benefits with less invasive work. Homes with shallow soffits, limited attic access, or historic architecture often get better results from landscape lighting instead.
Do I need a licensed electrician to install recessed soffit lighting?
Yes. Licensed electricians should handle all 120V soffit lighting for code compliance, safety, and permit requirements in most areas. DIY work risks fire hazards, moisture damage, insurance issues, and liability if faults cause injury or property damage.
What's the difference between wet-rated and damp-rated soffit fixtures?
Wet-rated fixtures handle direct rain and snow and are required for open soffits or any spot where water can hit the fixture. Damp-rated fixtures suit only covered locations with indirect moisture; they will fail if rain reaches them.
How long does recessed soffit lighting last?
Quality LED soffit fixtures typically last 25,000–50,000 hours, depending on quality, installation, weather, and heat management. The HALO HLB family lists 50,000 hours with a 5-year warranty. Canless units need full replacement when the LED fails; can-based fixtures allow bulb swaps.